
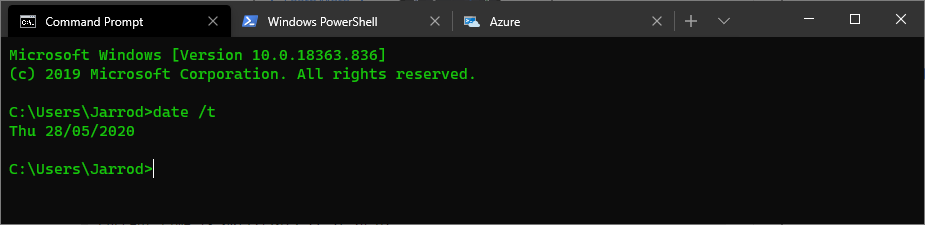
CMD and PowerShell are something that I have become very familiar with in the IT industry. They both do thier job, they’re not particularly customizable or pretty. You also have to open each new session in a new window. The new Windows Terminal doesn’t reinvent the wheel, but it does make CMD, PowerShell, Azure and even Ubuntu Terminals more accessible and easier to use.
The Windows Terminal App is basically a Wrapper/Container for CMD, PowerShell, Azure and Ubuntu Terminals. That said, I do really like it as I often have many CMD windows open at once. I tend to lose track of them.
It has some additional benefits over the individual programs.
- Tabs – Open All terminals in a single window
- Customise – Change the colour and theme of each terminal individually
- Font Size – You can also now increase the font size and font type
- Default Terminal – You can also change the default terminal that opens on start-up
Change the Default Terminal
- You can easily change the Default Terminal by going to the down arrow on the tab bar and selecting “Settings”

- Now the settings here are a plain JSON file. It can look a little daunting but it is really easy to change
- You will see at the top of the file a line that starts with “defaultProfile”:. The string of characters at the end of this line is the line you are going to replace with the code below.

- Scroll down and you will see a line that says “List”:. From the three entries here you can select the string of characters at the end of the “guid”: line for the terminal you want to open by default.

- Scroll back up and replace the String of characters in step 3 with the string of characters from your chosen “guid”: line.
- Now save the file.
Change the Theme
- You can easily change the theme by going to the down arrow on the tab bar and selecting “Settings”
- Now you need to find a theme to add. You can find the defaults here from Microsoft. This is the theme that I use above. The only thing I changed from default is the text colour (foreground).
{
            "name": "Green Custom",
            "foreground": "#16C60C",
            "background": "#0C0C0C",
            "cursorColor": "#FFFFFF",
            "black": "#0C0C0C",
            "red": "#C50F1F",
            "green": "#13A10E",
            "yellow": "#C19C00",
            "blue": "#0037DA",
            "purple": "#881798",
            "cyan": "#3A96DD",
            "white": "#CCCCCC",
            "brightBlack": "#767676",
            "brightRed": "#E74856",
            "brightGreen": "#16C60C",
            "brightYellow": "#F9F1A5",
            "brightBlue": "#3B78FF",
            "brightPurple": "#B4009E",
            "brightCyan": "#61D6D6",
            "brightWhite": "#F2F2F2"
}- Now in the JSON file scroll to the line that says “schemes”: []

- Enter the code for your theme between the []

- In the “list:” section add this line to the Terminal that you want to add the theme to “colorScheme”: “Green Custom”, here I have added it to CMD
- Then click save. Your theme should change straight away.


Recent Comments