
After getting my new NAS Server i was excited to see that there were some new and updated packages. Mainly Drive and Moments. These new packages have a much better and redesigned user interface. The Phone apps that they use also look and feel much better than previous Synology Apps. Moments is great for backing up your photos from your phone. So today i will focus on installing and setting up the Synology Moments Package.
- Before we start Synology Moments uses the Drive Package to store your photos. If you have not already set up Synology Drive, follow my guide here first Setting up Synology Drive
- Head to the package manager, select it from the programs menu

- From the package manager select All packages from the left sidebar, then search for Moments
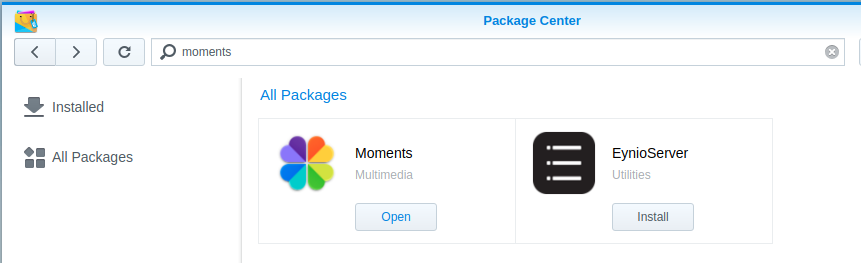
- Since the package is already installed on my NAS i have an “Open” option, on yours it will have an Install option. Press “Install”, it may ask you to select apply or ok
- Once installed, back in the package manager select “Open”
- Once opened you will be taken to the Moments Homepage

- So from here you will see a time line of all photos. I have changed mine to folder view for this, so all of my photos are not on display. If you have a higher powered Synology Nas, it will also do face and image recognition, this is found under the albums tab. Here is a list of supported devices for face and subject recognition
- On your phone head to the App Store or Play Store. Download the Moments app from Synology once opened you will need to sign in with your NAS Account
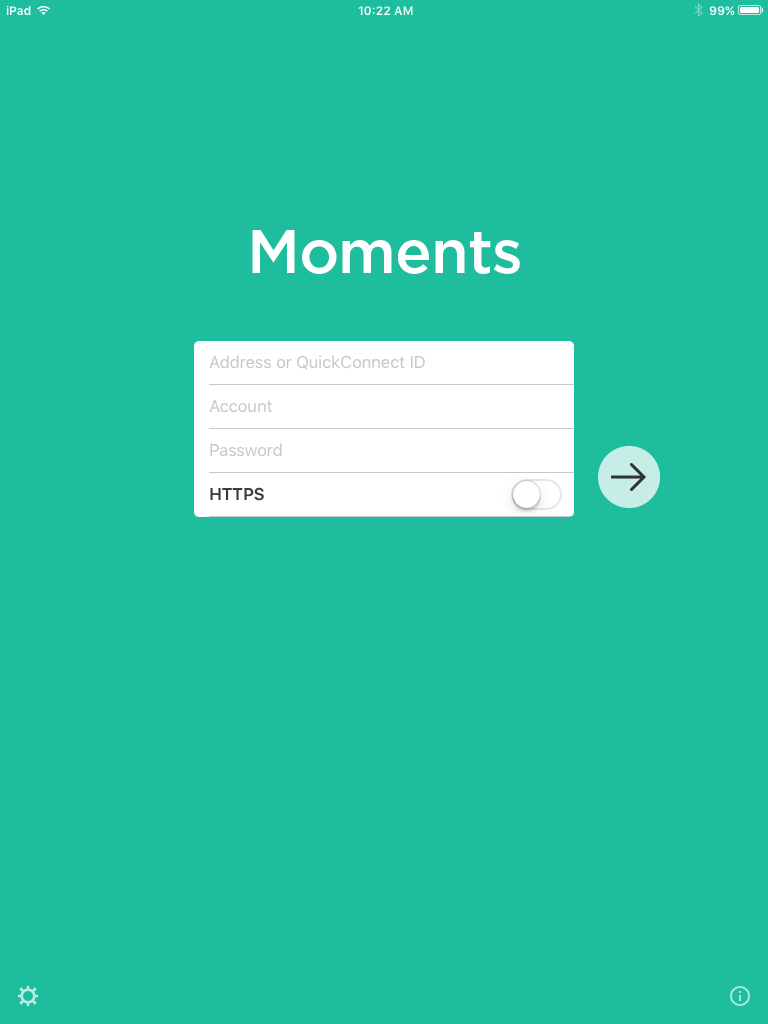
- Enter your Synology Quick Connect ID, IP Address or Domain Name, your username and password and preferably tick the HTTPS box
- Once you are signed in successfully you will see a timeline of your photos
- If this is your first time opening the app, you will be asked to enable photo backup
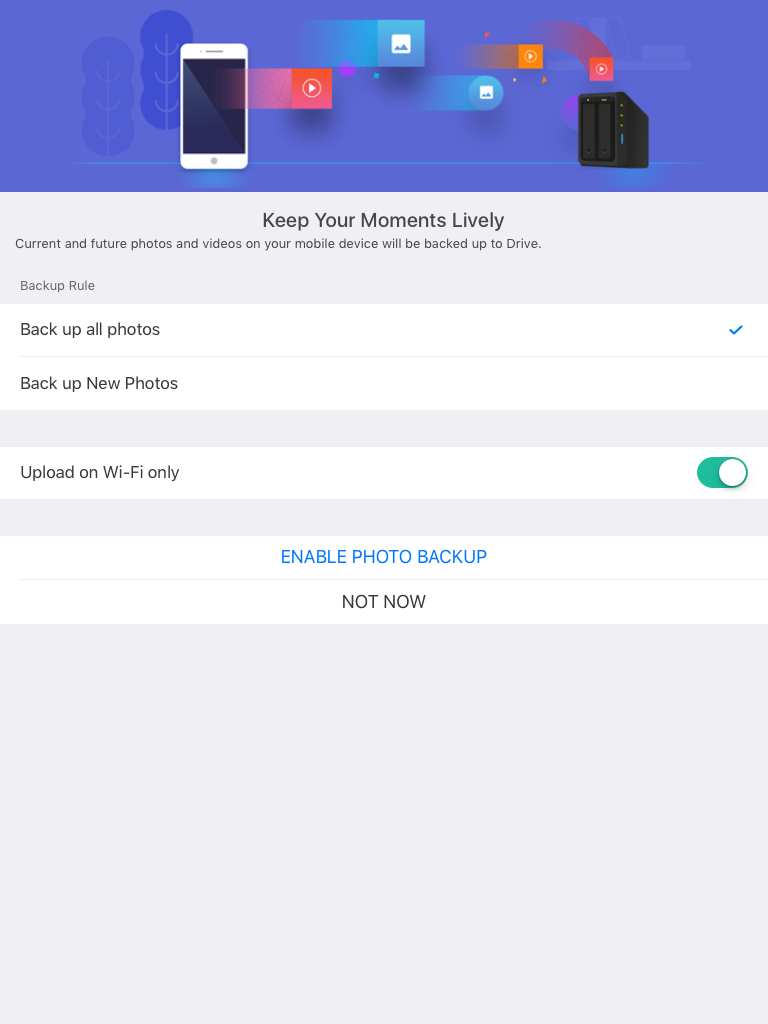
- To enable photo backup, select “enable photo backup” otherwise if you don’t see the screen above select the More option on the bottom bar
- Select the Settings option next to “Photo backup not enabled”

- Then select Enable photo backup
- And thats all there is to it, you now have your own private cloud Photo Backup


There is no moments in the package centre and it isnt already installed. Does it work with DS220j
Hi Macros,
Moments was removed as of DSM 7, it is now called Photos with a red/orange icon.
Hi, would you be able to configurate my DS220j NAS Synology (of course, paying for it)? Thanks
Hi Francesca,
Unfortunately, I don’t provide paid support at this time.
If you have a specific question, you can email me and I will try to get back to you.