Bridging your modem is a relatively easy process. The main reason to do this is if you have an ISP modem (these are usually pretty bad) and want to use your own router. These routers normally support Ethernet connections, however your internet connection may be fibre, coaxial or DSL.
In this case you would need to bridge you providers modem if you want your router to do the actual internet connection (i.e get the public IP address). An alternative would be to just plug your new router into your ISP modem and DMZ the provider modem (this opens all ports to your ISP router , this is a less elegant solution.
Now all routers are different but I’ll take you through the basic steps.
- Log into your router’s web interface. You can usually get the URL or IP from the bottom of the router. this should also show the default username and password.
- Once logged in you should look for a menu option like “WAN”, “Internet” or “Connection”

- This page will have the setup for your internet connection. Now some modems have a system where you can add and delete “profiles”. Others just have a page where you can select options. If yours has profiles, delete the old one (note down the settings) and add a new one.
- Now if you are on the page to change the settings/ have added a new profile if needed. Look for the setting “Type”, this should be a drop down where you can select from various connections. In here select “Bridge”, “Bridge Connection” or “Passthrough”. You will also need to re enter any specific connection parameters. These should be there already or noted down earlier.

- For instance, I need a VLAN of 100 for my connection, I would select on and enter it in the box. Now save your settings.
- Now plug your new router into the LAN port of your providers modem. Some modems require a specific port, normally 1 or 4.
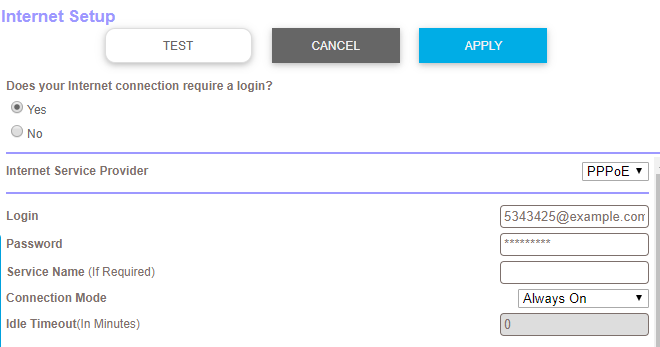
- Now in your new modem you will need to enter the details for your connection, normally a username or password with PPOE. You may also have a static IP address to enter.


Recent Comments