
If you have read my other project where I created a Raspberry Pi photo frame, then this could help you extend the functionality by automatically downloading your images. You could however use this to synchronize any files with your Raspberry PI. For this project i am just going to synchronize my sideshow photos from Dropbox.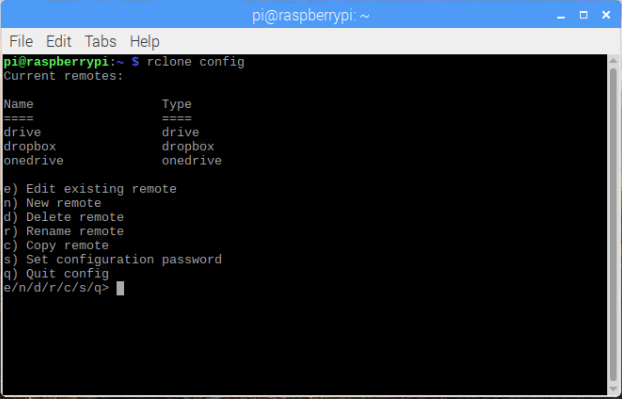
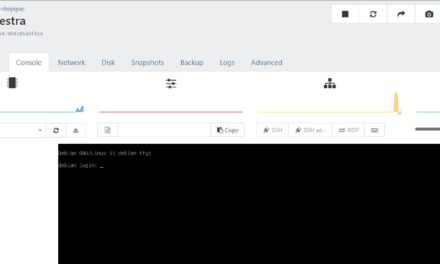
- First open a Terminal window sand enter curl -L https://raw.github.com/pageauc/rclone4pi/master/rclone-install.sh | bash
- Once this has finished you are ready to configure Rclone
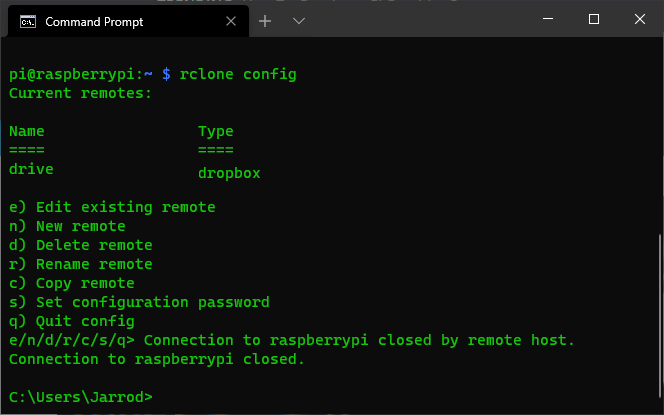
- Enter the command rclone config
- Enter n (for a new connection) and then press enter
- Enter a name for the connection (i’ll enter dropbox) and press enter
- Enter 8 for “Dropbox” and press enter
- Press Enter for client ID
- Press Enter for client Secret
- Enter n for advanced config
- Enter y for “use auto config”
- A browser window will then pop up and you can log into Dropbox.
- When you have entered your details, the next screen will appear asking you to allow access. Press the Allow option.
- You will receive a screen saying “Success”.
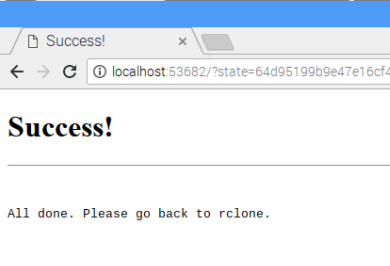
- Close the browser window and return to the terminal.
- Press y to complete the setup.
- Close the terminal window
- Now we have set up the connection however we still have to synchronize(download) the folder to the raspberry PI. to do this we will write a simple .sh script and set it to run at a set time.
- If your comfortable with a text editor you can enter this string into leafpad on the raspberry pi and save it as sync.sh rclone sync -v dropbox:images /home/pi/Pictures (This sync command will make the Pi folder the exact same as the folder in Dropbox, ie it will delete any folders not in Dropbox).
- If you have used different names to me, replace dropbox with your connection name and replace images with your folder name(this is the folder name in your Dropbox account). You can also change the path, this is where the folder is synced to.
- If you don’t want to make the file yourself you can download the version at the end of this project already completed, You will just need to unzip it
- Either way you do it put the file in the /home/pi/Documents on your Raspberry Pi
- Make it Executable, in the terminal chmod +x /home/pi/Documents/sync.sh
- This file will call the connection and download any new files from Google Drive. This is good however we need to set it to run automatically.
-
- Only follow if your Pi doesn’t have a Desktop installed (Headless) or you have installed Raspian Buster– Run crontab -e in the terminal
- Select 2 for nano
- Enter the following string – 0 * * * * /home/pi/Documents/sync.sh
- Save the file ( usually Ctrl + O to save and Ctrl + X to exit) ,then skip to step 31
-
-
(Depreciated, Gnome Schedule has been removed as of Raspian Buster. Only use if you have an older version. Use step 22.1 if you have Raspian Buster or newer)
Next we will install a tool to set the script to run automatically. Open a terminal and enter sudo apt-get install gnome-schedule (This is just a cron job interface, so if you are familiar with cron you can skip this app)
- Enter your password and once the installation is completed close the terminal
- Open the Raspberry Pi menu and under System Tools open Scheduled Tasks
- Select New and then A Task that launches recurrently
- Enter a Description if you like. In the command box enter /home/pi/Documents/sync.sh
- Next you can enter the times for synchronization, i’m going to leave it as default; which syncs every hour. Feel free to change this to your liking
- Then Click add
- Thats it! Restart your Raspberry Pi and add some photos to your Dropbox
PS. You can also use this for many other types of drives and the process is very similar. Just choose a different number in step 6.
This file syncs images to “/home/pi/Pictures”


Hello. Thank you for your manual.
But how can I sync photos from Pi to Dropbox??
This manual only allows to sync from Dropbox to –> Raspberry.
Thank you
Have a nice day.
Hello.
Thank you for manual.
But how can I sync files from Raspberry Pi to —> Dropbox?
This manual only sync files from Dropbox to Rasp. Pi!
Thank you
Have a nice day
Hi Krists,
You should be able to do that by simply swapping the source and destination, and using copy in the command. IE, rclone copy -v /var/www/html/slideshowimages dropbox:images
This should upload the the files in slideshowimages to the folder images in your dropbox.
Thank you.
It works!
Awesome! Glad I could help 🙂
How could I set it up to function like a dropbox client on the PI? So I can make a change in dropbox and the pi will reflect that change as well as the reverse?
Hey John,
There is no true 2-way sync but what you can do is make an Upload and Download folder both on the Pi and in your Dropbox.
If you would like to upload and download, I would suggest using 2 different folders. Then in step 18 add a command to upload and a command to download to the text file.
rclone sync -v /home/pi/Documents/upload dropbox:images/upload
rclone sync -v dropbox:images/download /home/pi/Documents/download
Yes, that will work, thanks.
Hi Jarrod,
Where can I find the Rpi photo frame that you mentioned at the beginning of this page? Creating a photo frame sync’d to a Dropbox folder is precisely what I want to do. If you can please share the photo frame part, the puzzle is complete!
Hi,
you can find the photo frame project here
https://jarrodstech.net/project-raspberry-pi-information-screen-and-slideshow/
https://jarrodstech.net/project-raspberry-pi-information-screen-refined/
Hi, you saved my day. I programmed an information screen myself and wanted to set up one for my parents but needed to refresh pictures remotely. I tried the dropbox.api but am not much of a web designer (node.js etc). This is perfect and so easy.
Any ideo how to access a public google calender and to display elements without using the google module?
Hey Felix,
That Awesome! so glad I could help.
I’m not exactly sure what you mean here. I know you can embed a public google calendar on a website
https://support.google.com/calendar/answer/41207?hl=en
Hi Jarrod, thanks but I wanted to display my calendar and design it myself. This helped:
https://gist.github.com/adamjohnson/bf601ea10611a0a46566eb66060b332d
Thanks Felix,
I might even use this in a future project!
I saw your reply to John Eye. Do you think the two folders on the rpi , upload and download, could clone each other? So that they any change would end up in Dropbox or any change in Dropbox would land on the rpi?
Hey Gary,
As I said to John, there is no true 2-way sync. If you try to do it on the same folder it will not work as the commands will delete anything not in the destination. You could try playing around with the rclone copy command as this does not delete files from the destination. I haven’t tested but using the copy command in this way might work. You would have to do some testing though.
Thanks for explaining it to me!