
Great work. Your Synology NAS is now able to host multiple websites. You probably want to secure these websites with an SSL certificate. Well thanks to Let’s Encrypt and Synology that couldn’t be easier. Let’s get to it.
- Open Control Panel -> Security -> Certificate.

- Choose add and select a new certificate.

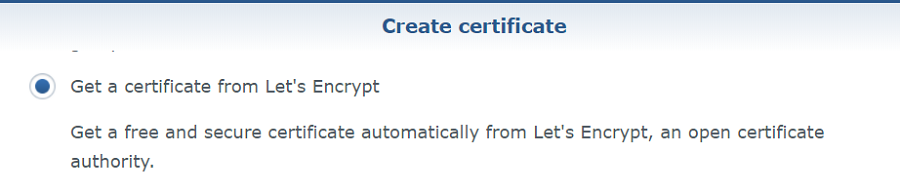
- Select Get a Certificate from Let’s Encrypt.

- In the first box enter your domain name with no sub domain. Next enter your email. Finally enter any sub-domains that you wish to use, separate these with a “;”.

- Now this is the fiddlier part. For this to work Let’s Encrypt needs to be able to access your NAS server on port 80 through your domain. If you have already done this then great, go ahead and press apply. If you followed my other tutorial, you will remember that because of the little loophole that we set the port internally to port 8080. For this to work you will temporarily need to change this to the following.
| External Port | Internal Port | |
| Original | 80 | 8080 |
| Temp (needed for verification) | 80 | 80 |
- Once added you will be good to go. If you have more than one certificate, you can choose what certificate to use for what service. Just select configure from the Certificate window.


I was very pleased to find this web-site.I wanted to thanks on your time for this excellent learn!! I positively enjoying every little little bit of it and I have you bookmarked to check out new stuff you weblog post.
Thank you Jarrod for sharing this in combination with hosting multiple domans at the Synology NAS. This does save me time to investigate by trail and error how to host and secure multiple domains!