
For the longest time I have been using OpenVPN as my VPN of Choice. Recently i have found the desktop application to be clunky and hard to use for the average person. With this in mind i decided to set up an L2TP VPN Server on my Synology NAS. I ran into a few hiccups so ill detail my setup process below.
- Firstly you will need to install the VPN Server package from the Package Center
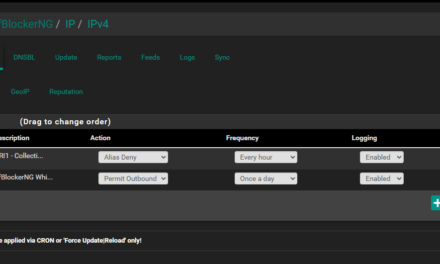
- After installing and opening the package you will see the screen below

- From here the setup process on the NAS is very simple. Tick the Enable option and then leave everything as default. you will need to enter a Pre-shared key. Make this key complex as it will be used to authenticate the VPN along with your username and password. Click Save.
- Now you will need to forward the necessary ports on your router. This is different for every router but will usually be under an option like “port forwarding” or”virtual server” ( Ensure that your Synology NAS has a static internal IP address if you need help click here)
- The ports are UDP Port 500, 4500, 1701
- Now we will setup a connection using windows
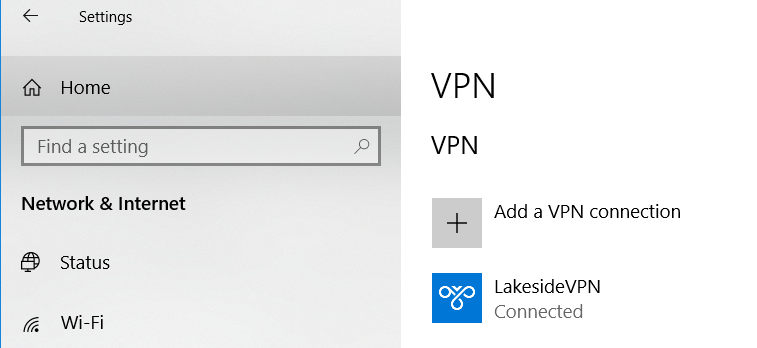
- In Windows 10 head to the new settings menu from the start menu then -> Network -> VPN

- Select add a VPN Connection
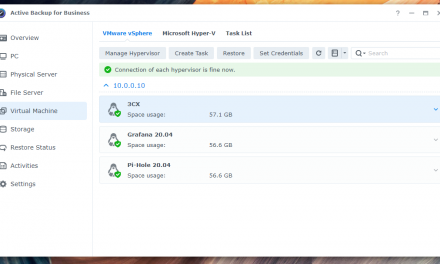
- Enter the details of your NAS, if you have a domain name pointed to your NAS then enter it otherwise use your public IP address. For the VPN type select L2TP with a Pre-shared Key. Then enter your Synology NAS account.

- Click Save. Now there a two more quirky things to complete.
- From the start menu type “regedit” and press enter.
- From the left sidebar or by pasting the string below into the top bar, go to the following place
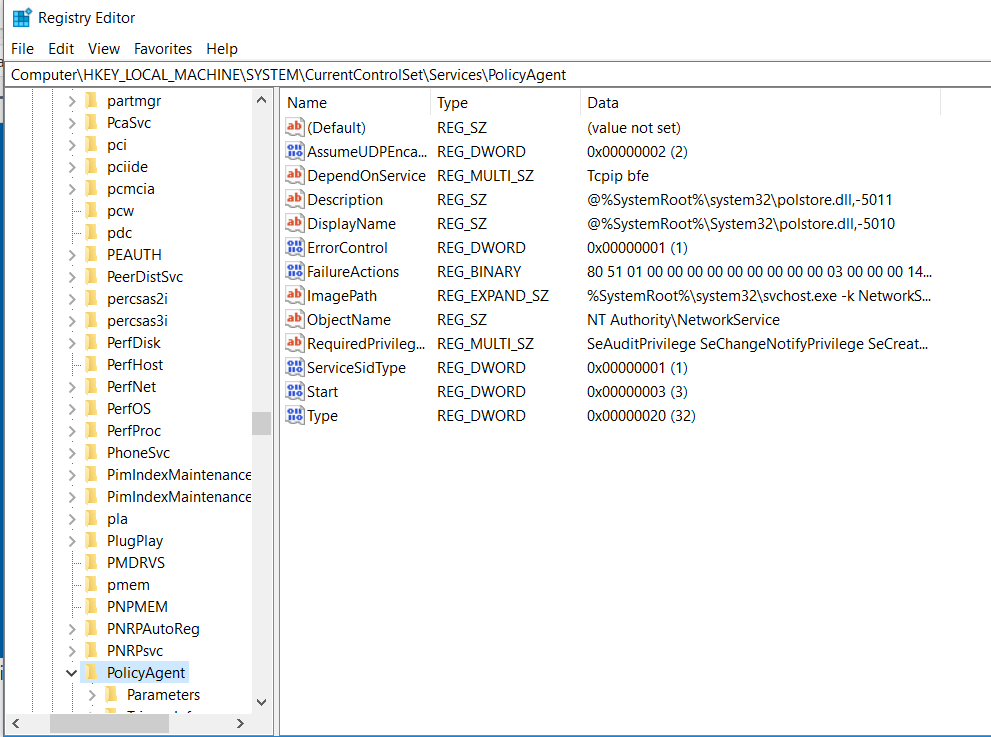
- Computer\HKEY_LOCAL_MACHINE\SYSTEM\CurrentControlSet\Services\PolicyAgent
- Right click and select new -> DWORD (32 bit)
- Enter AssumeUDPEncapsulationContextOnSendRule for the name and press enter
- Right click on that record and select edit, in the value data field enter 2 and press save
- Now the last thing to do is to head to the network adapters list. if you refer to step 7 you will see at the bottom of the screen it says “change adapter settings”, click that and you will be taken to the screen below.
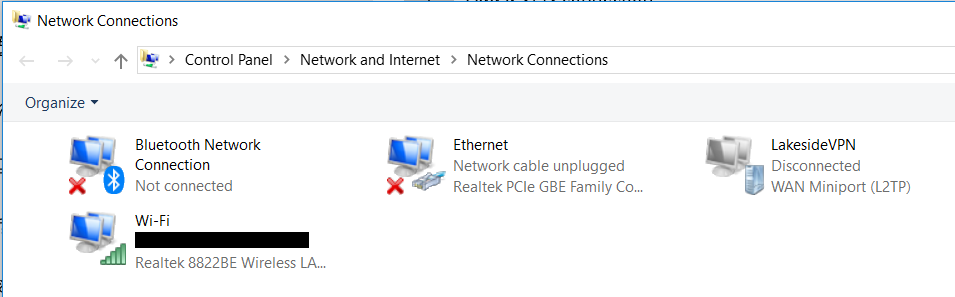
- Select the VPN you created and right click, select properties.
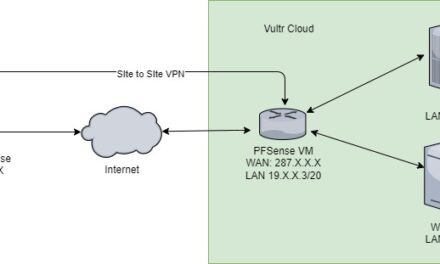
- Select the security tab

- From here select allow these protocols, select microsoft CHAP V2 and select OK
- Now restart your computer.
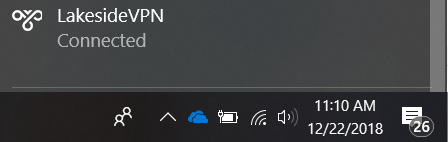
- After the restart, press the network icon in the bottom right of the windows task bar, select your VPN and press connect. With everything setup you should now be connected.


Recent Comments