I’ve recently had solar panels installed at my house. When choosing the system, I made sure to get a system with good statistics capabilities and an app. I also want to integrate it with home assistant for notifications and custom automations. The default integration is cloud only and is limited to 300 API calls a day, which in reality is useless for real time usage. Luckily there is a HACS integration to read the SolarEdge Modbus data over the network.
- This assumes that you already have a solar edge inverter with network setup and the app working
- You have Home assistant with HACS installed
- You have the IP of your Inverter (Check your router or use Advanced IP scanner). The MAC address of the system is on the right-hand side of the inverter
Enable Modbus over TCP
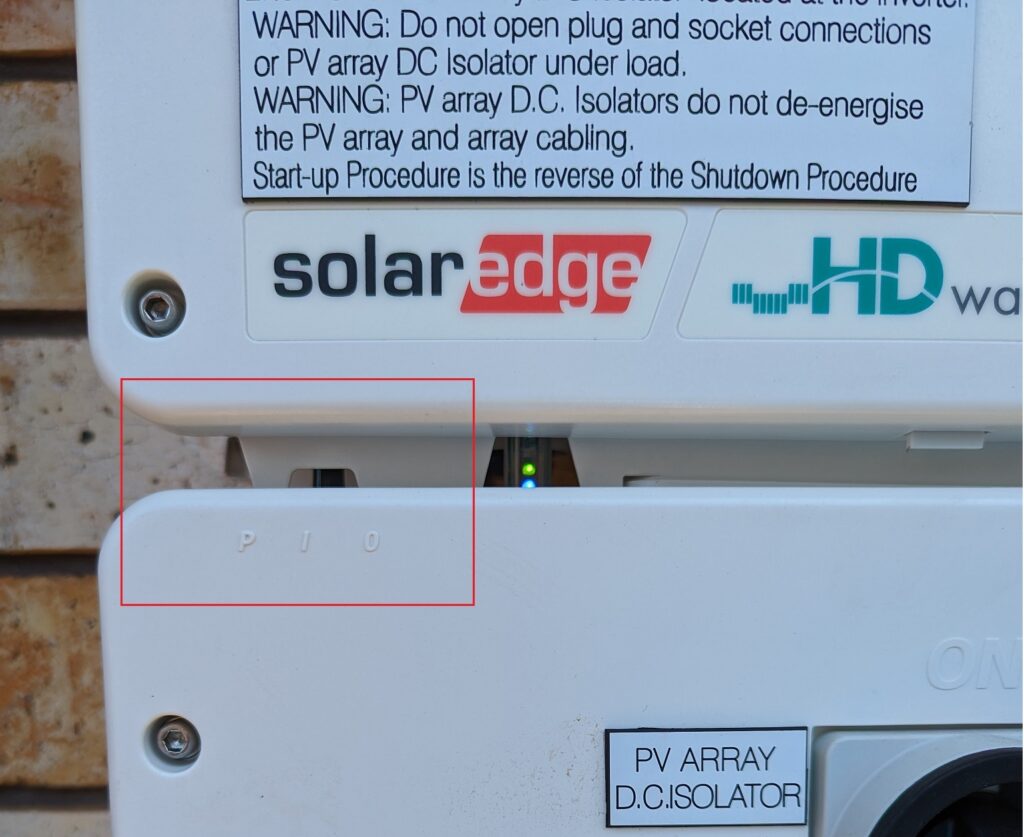
- You will need to connect to your inverters commissioning web page. On your inverter, move the toggle switch to P for about 2 seconds. This will enable the WIFI network. The WIFI password will be on the right side of your inverter. Connect to this WIFI network.
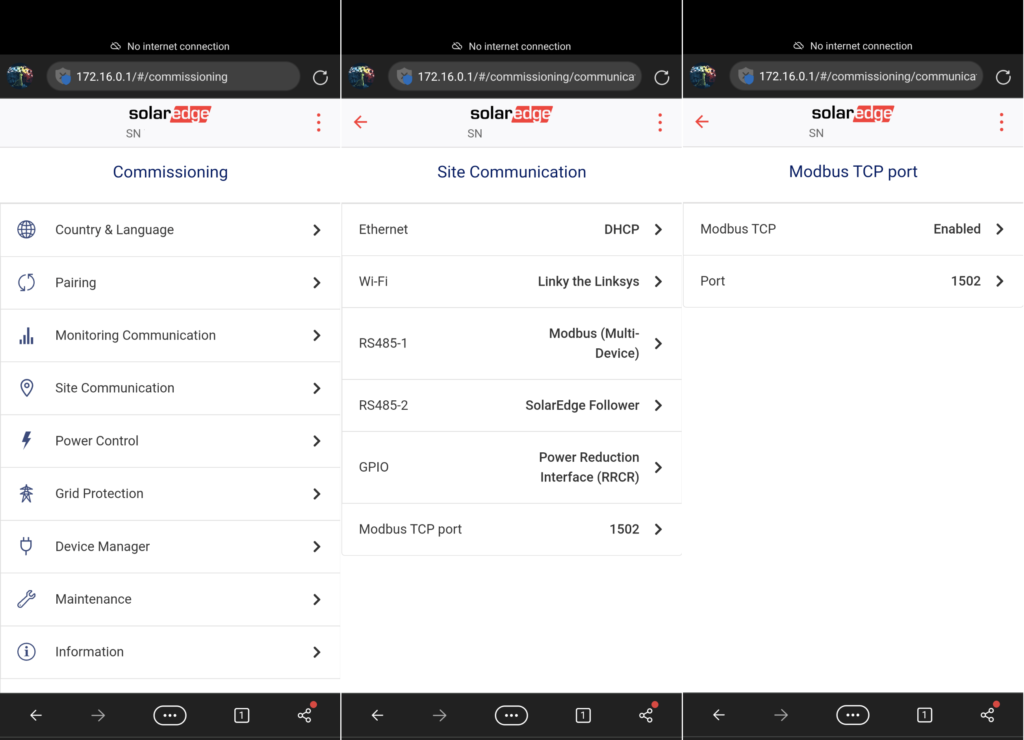
- Go to the page 172.16.0.1 -> Site Communication -> Select Modbus TCP, select enable and leave the default port
Setup Home Assistant Integration
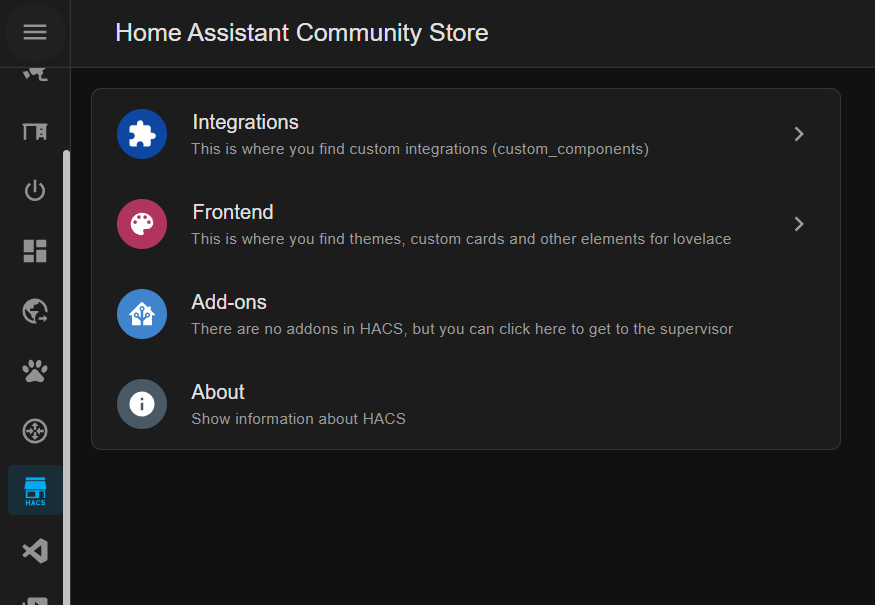
- Go to HACS and select Integrations
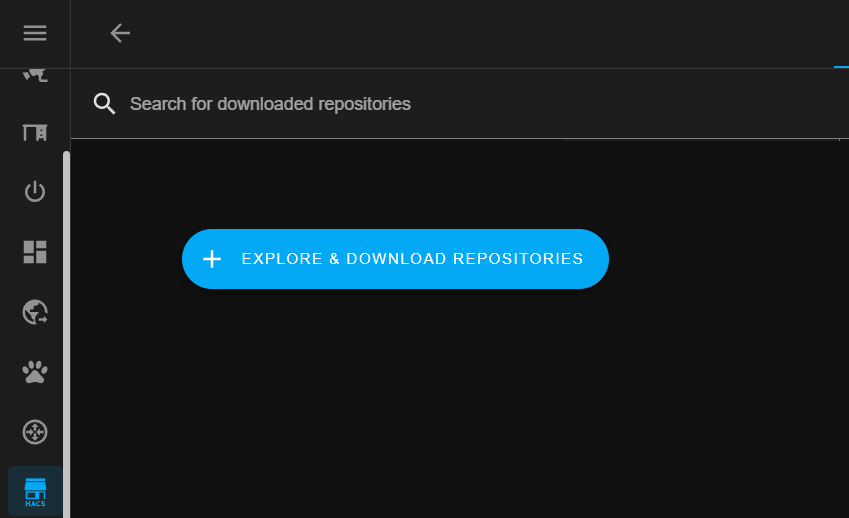
- Press the Explore and Download Repositories button
- Search for SolarEdge Modbus
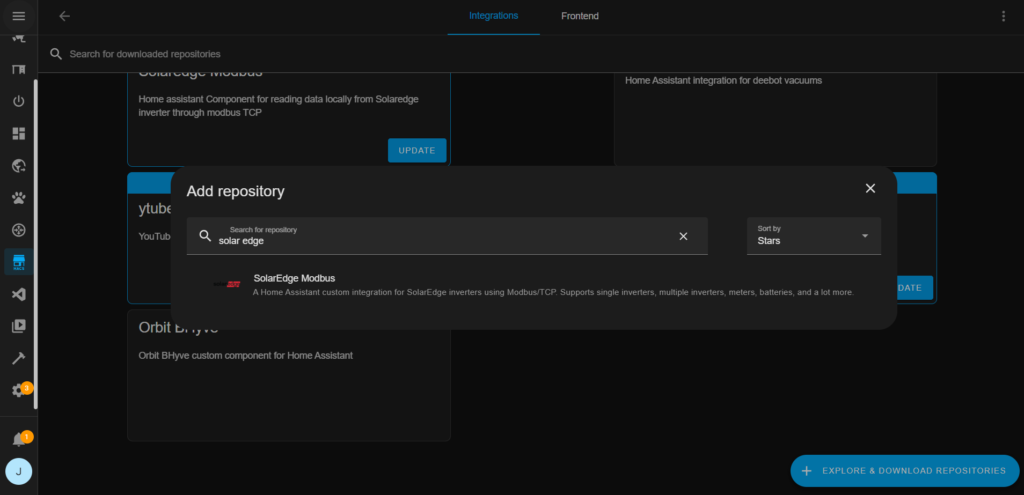
- Select it, then select the 3 dots in the right-hand corner
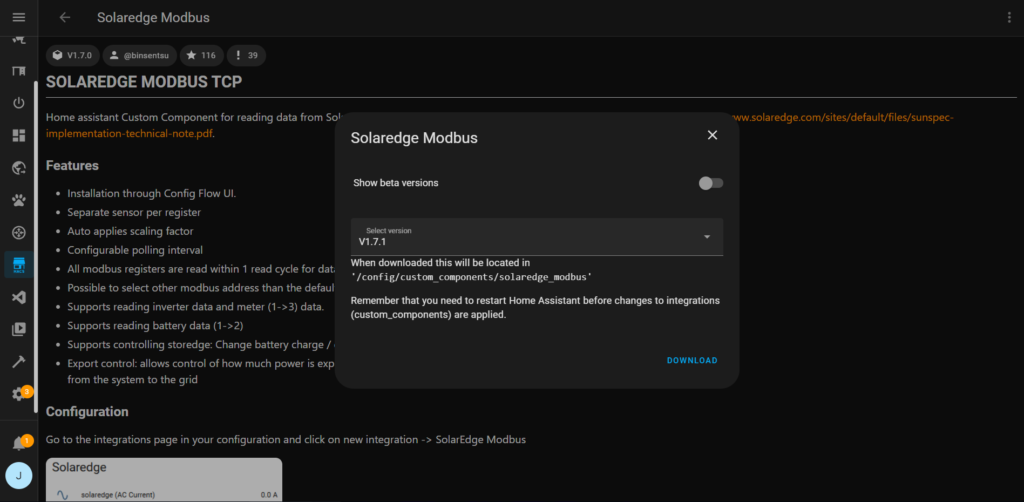
- Select download and then restart home assistant using the navigate button.
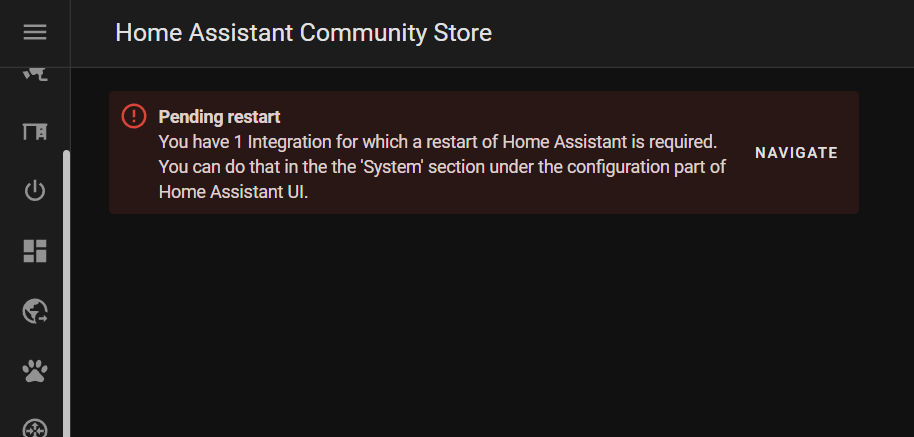
- After restarting, head to Settings -> Devices and Services
- Select Add Integration
- Search for SolarEdge Modbus and select it. Now enter the IP address of your inverter and port 1502. Then Select submit. (For most single phase meters, select Read meter 1 data)
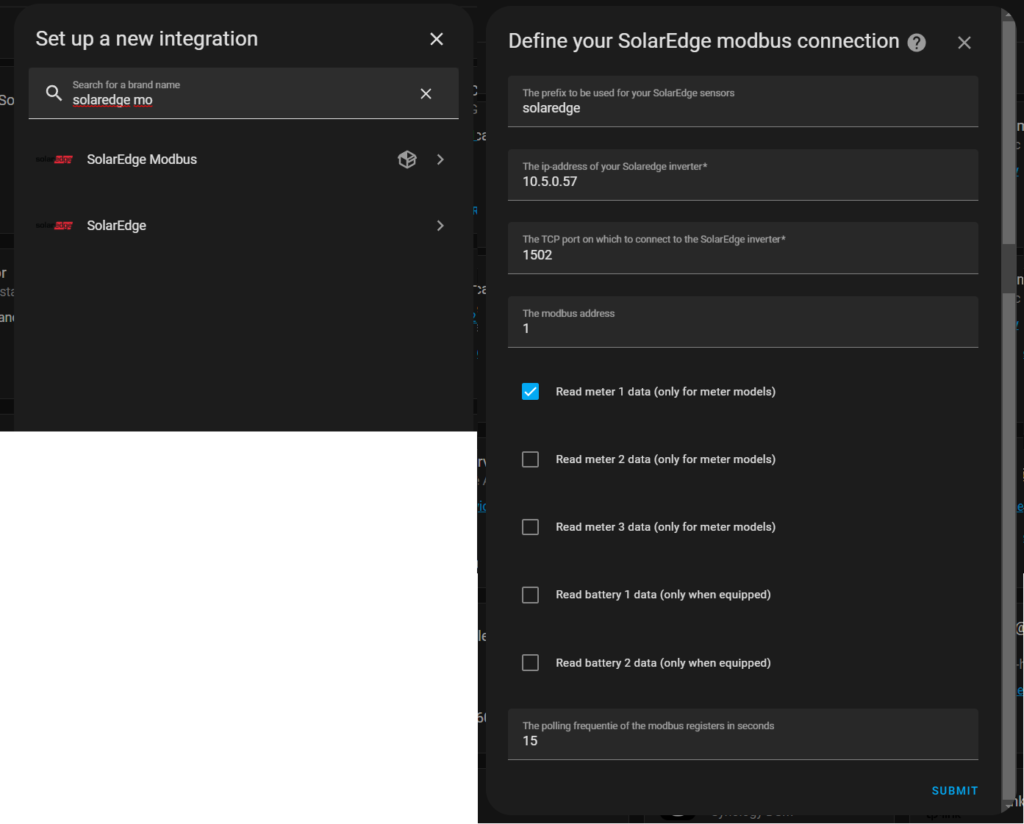
- Now the SolarEdge system should be added to your home assistant installation. You may need to wait around 30 seconds to see data.
- Once in you will see about 86 attributes. You can disable most of these, the ones I would recommend leaving would be the following.
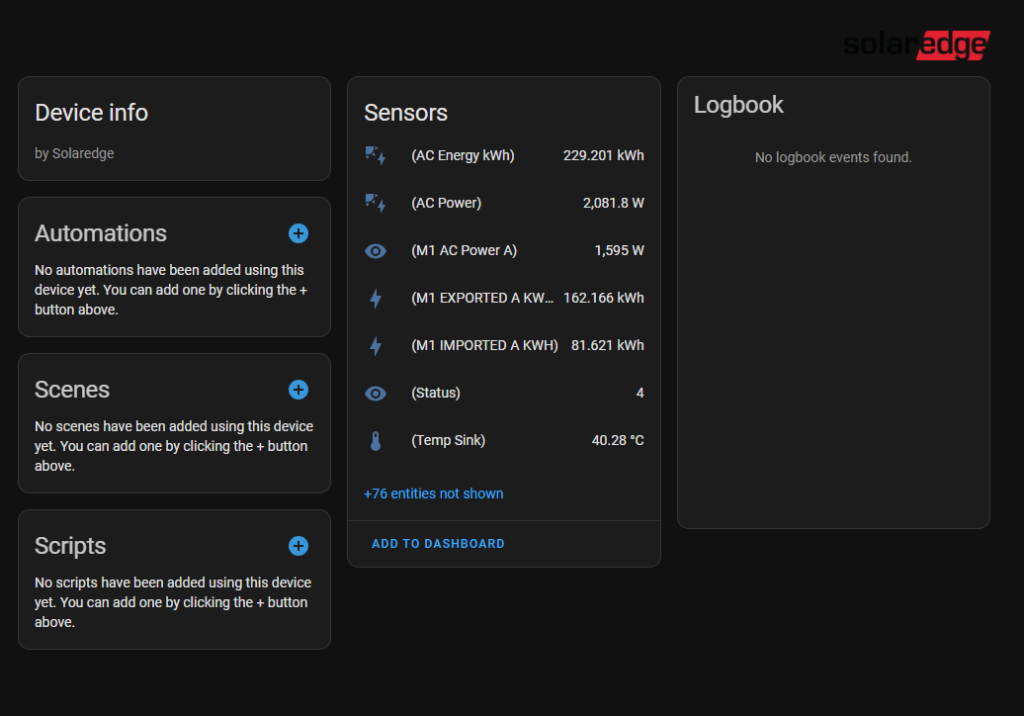
- The main ones here for real time data are (AC POWER) – this is how much the solar array is producing in watts. The second is (M1 AC Power A) – This is how much you are exporting or importing in watts
Custom Entities and kW
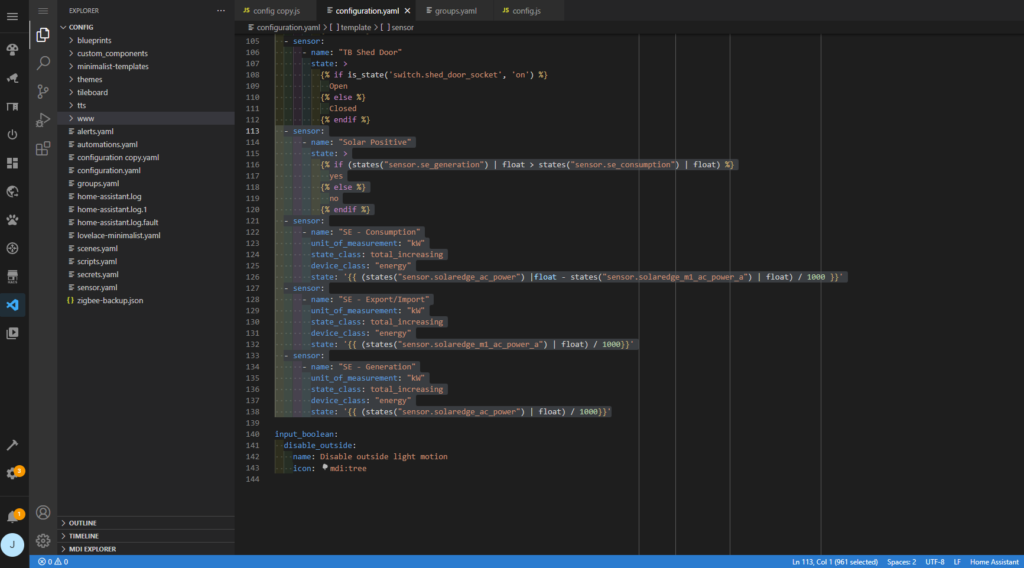
While Watts is okay, I really wanted kW. I also wanted to calculate how much the house is consuming. This can be done with some simple custom entities. This gives you a kW output for Solar Generation, House Consumption, Import/Export and a yes/no sensor that is yes when you are generating more than you are consuming. I find it makes things easier to use in dashboards and automations.
  - sensor:
      - name: "Solar Positive"
        state: >
          {% if (states("sensor.se_generation") | float > states("sensor.se_consumption") | float) %}
            yes
          {% else %}
            no
          {% endif %}
  - sensor:
      - name: "SE - Consumption"
        unit_of_measurement: "kW"
        state_class: total_increasing
        device_class: "energy"
        state: '{{ (states("sensor.solaredge_ac_power") |float - states("sensor.solaredge_m1_ac_power_a") | float) / 1000 }}'
  - sensor:
      - name: "SE - Export/Import"
        unit_of_measurement: "kW"
        state_class: total_increasing
        device_class: "energy"
        state: '{{ (states("sensor.solaredge_m1_ac_power_a") | float) / 1000}}'
  - sensor:
      - name: "SE - Generation"
        unit_of_measurement: "kW"
        state_class: total_increasing
        device_class: "energy"
state: '{{ (states("sensor.solaredge_ac_power") | float) / 1000}}'- Simply add the code above to your configuration.yaml file using VS Code. (Can be installed from the Add-Ons store)
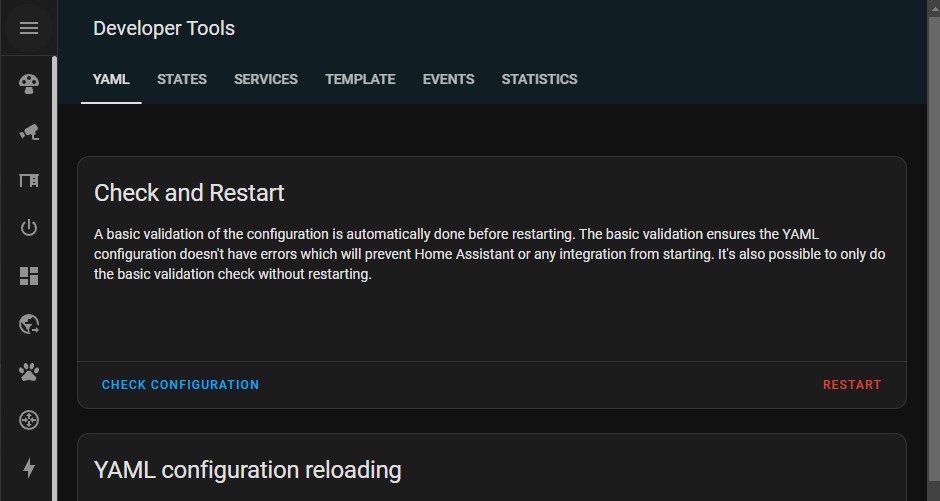
- Then Restart Home Assistant from the developer tools page
Optional: Tesla Style Solar Power Card
If you are using Lovelace, the Tesla Style Power Card from HACS is a really nice widget.
- Go back to HACS and select Frontends

- Search for Tesla Style Solar Power Card, use the 3 dots in the top right to install the frontend.
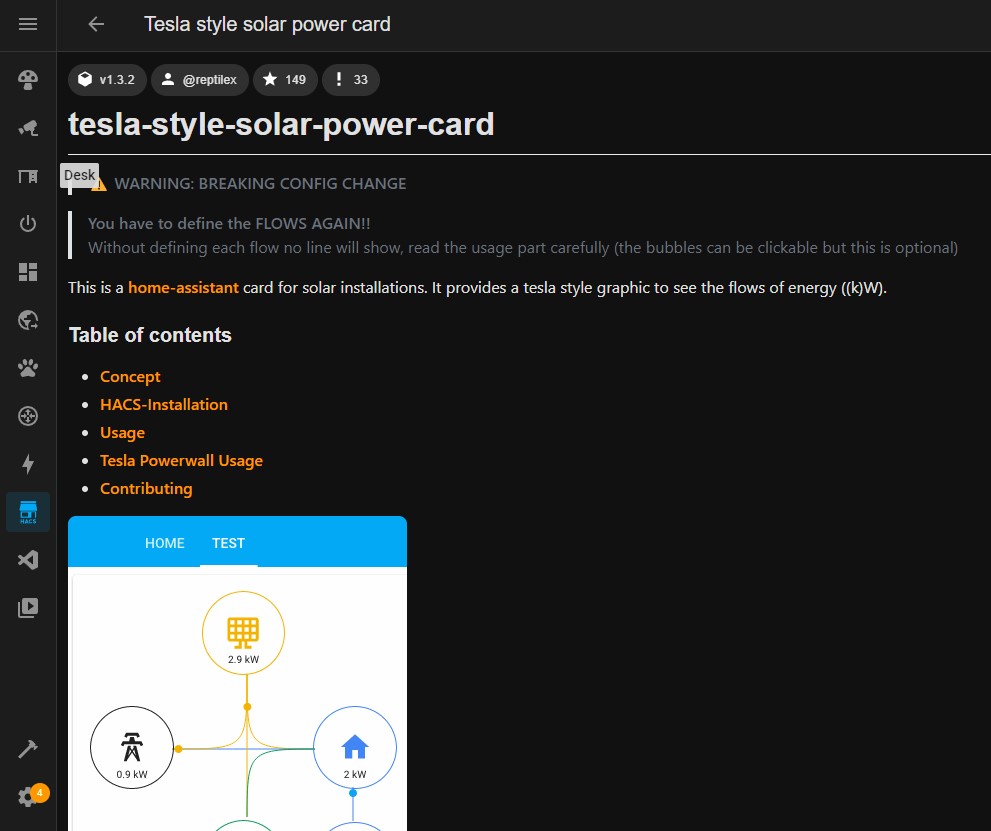
- Then Reload HACS to apply the change, so you can use the frontend integration
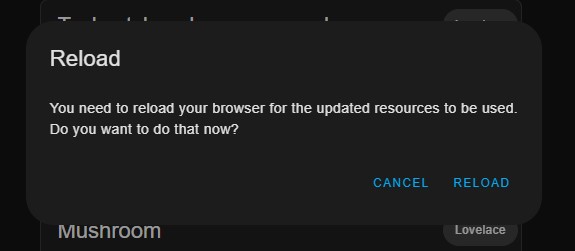
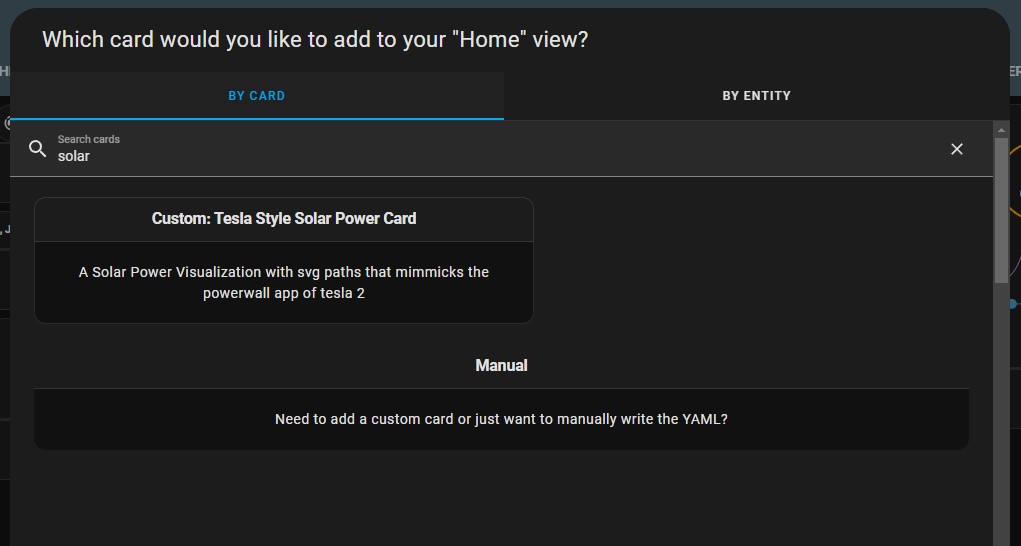
- Go to one of your Lovelace dashboards, select add and search for solar
- Enter the code below (Will only work if you added the custom kW entities). You should see an overview of your solar system.
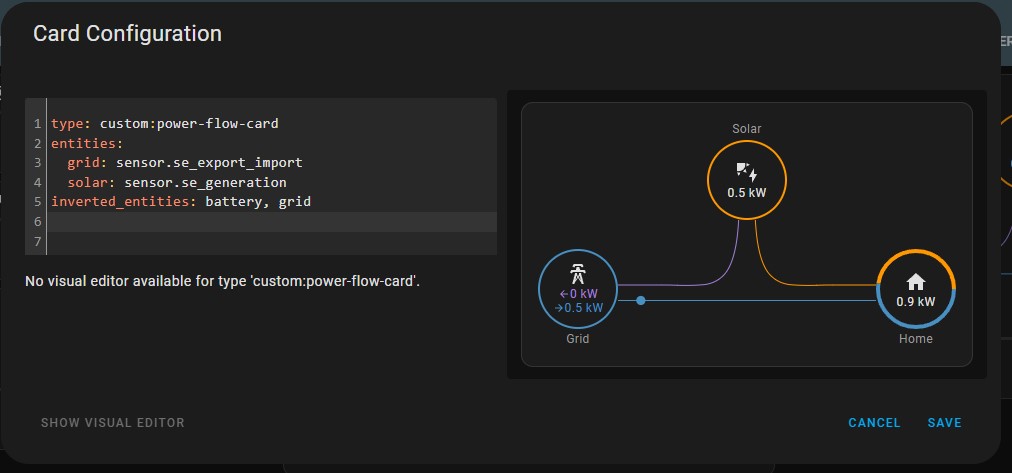
type: custom:power-flow-card
entities:
  grid: sensor.se_export_import
  solar: sensor.se_generation
inverted_entities: battery, grid



I’m a bit confused with my install. Your step 10 – I have a list of sensors and they do not include anything about export or import. I have AC Energy and an AC Power. So I am missing some key sensors but even when I go to the Energy Dashboard I can only add AC Power. Nothing else from Solaredge is available. Have I missed something? Thanks
Hey Scott,
In step 8 did you tick “read meter data 1”? It sounds like they may be what is missing.
In step 10 the only useful metrics I use are:
(AC POWER) – this is how much the solar array is producing in watts. The second is (M1 AC Power A) – This is how much you are exporting or importing in watts
That is why I’m the next steps I created customs entities to use. These are in kw and show generation, consumption and import/export.
I haven’t used the energy dashboard much, I found it not very intuitive and not that useful to me personally.
Hi Jarrod, just found your post about modbus with SE. Is there also a battery interface? I want to load the battery not only by solar but also from the grid when dynamic market prices advice this.
Thanks
Hey Rick, yes you can get battery info. I dont have a battery yet so I havent been able to test. But a friend has one and it does have battery info. You’d need to re-add the system to HA.