Lets face it, ads can be annoying. You can install ad blockers on all of your devices, but what if there was a better way? With this Raspberry PI project, you can block adds on all devices. You can also have more control over your DNS. Today we will be using a Raspberry Pi package called Pi-Hole
Installation
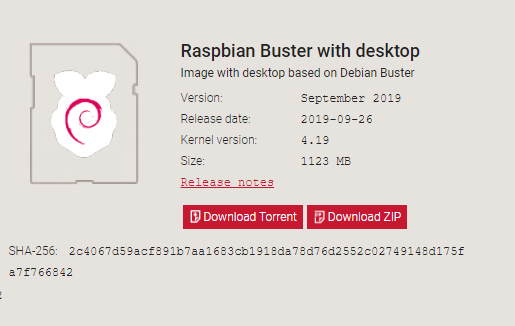
- Head to the Raspberry Pi site and download Raspbian Buster with desktop
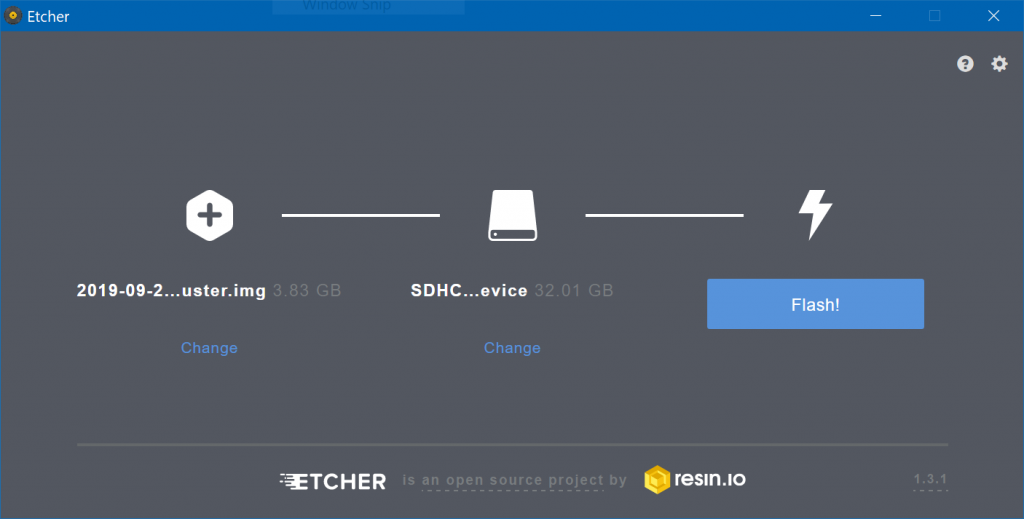
- Burn the image to a blank micro SD card using etcher.io
- Now put the SD Card into your Pi and boot it up. Connect to wifi or Ethernet
- Next open a terminal and enter the following command curl -sSL https://install.pi-hole.net | bash
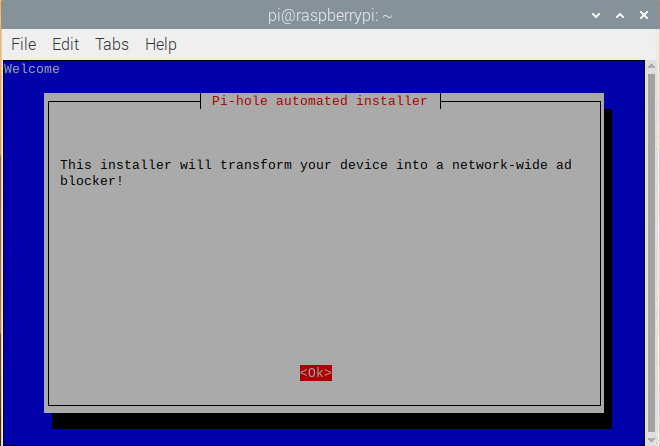
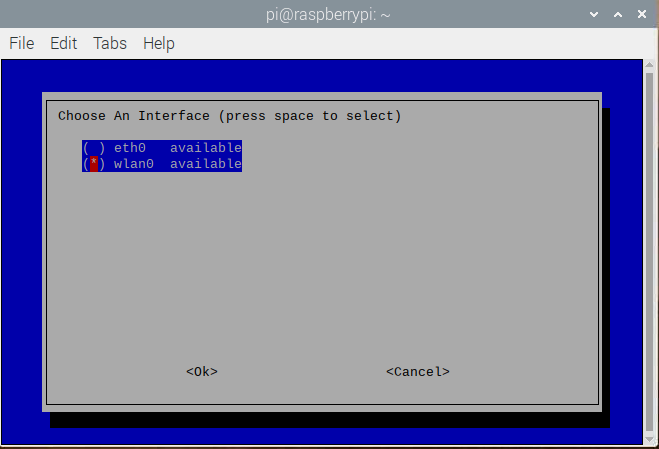
- Press Ok through the first few menus, then on the network page select if you are using Wifi (wlan0) or Ethernet (eth0)
- Select your upstream provider, this is where dns requests will be sent. I am going to use google, but you could use cloudflare for Secured DNS
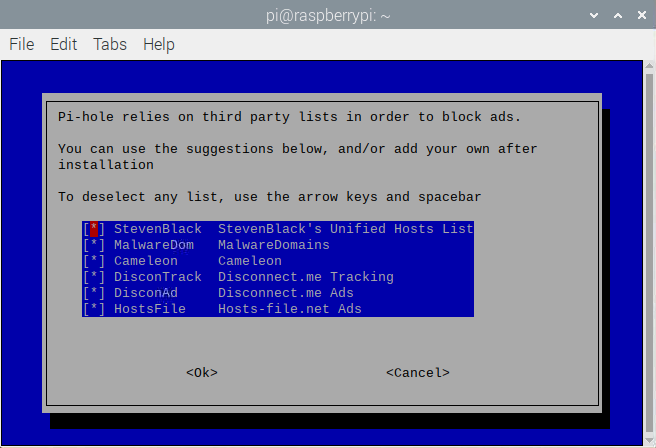
- Now you can select the lists to use in order to block adds, i am going to leave this default
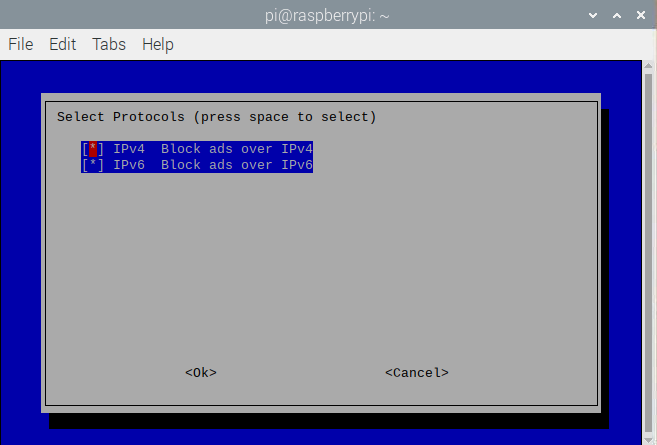
- Next select the IP Protocol, I am going to leave this default
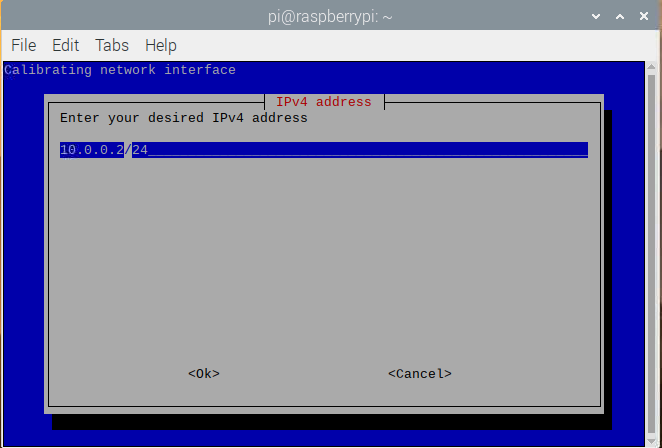
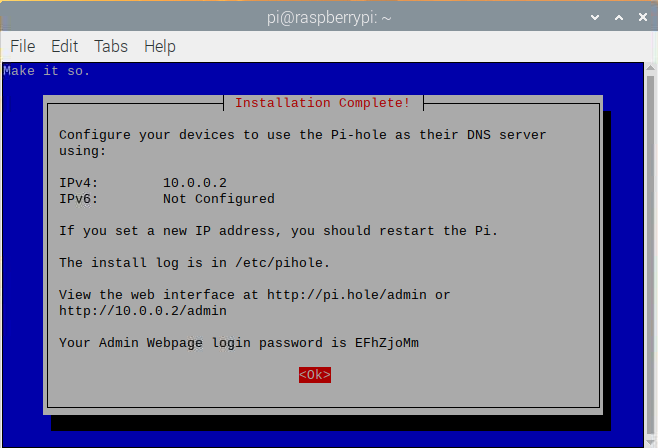
- Next confirm your gateway and static IP, it is best the change the IP to something outside your IP range or a high address. I am going to set mine as 10.0.0.2 because my router starts its pool at 10.0.0.20. Leave the gateway as is
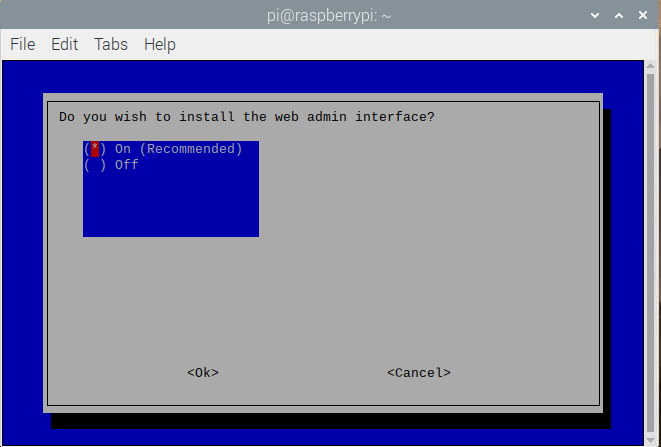
- Select yes to install the Web Interface
- Select yes to install the Web Server
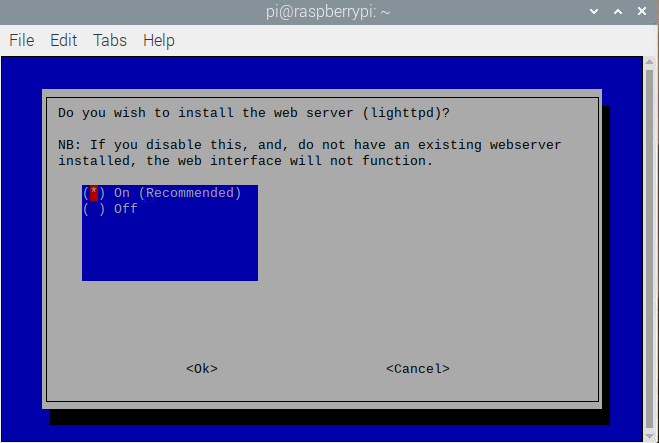
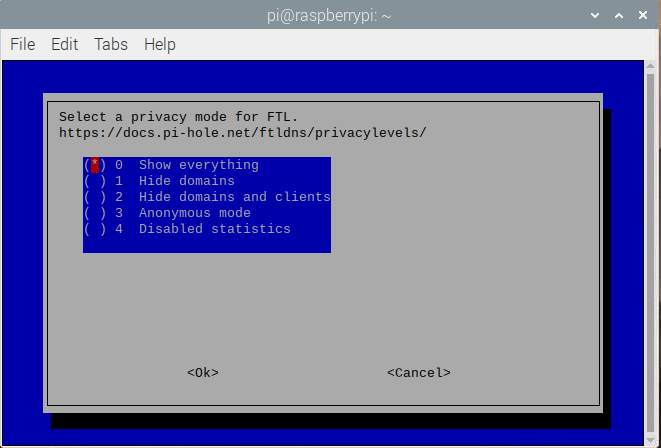
- Select Show Everything for privacy mode
- Now Pi-Hole is installed and ready to use
Implementation
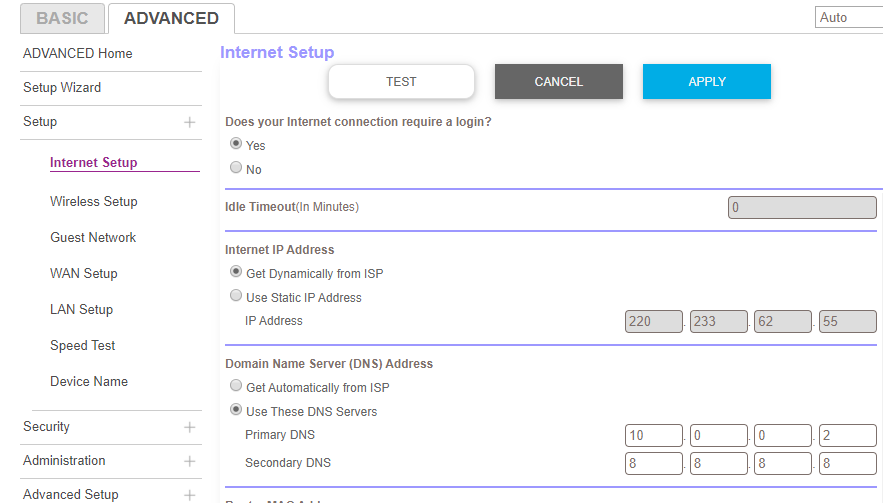
There a two ways to use the Pi-Hole with your devices. You can set the DNS server on each device (all devices are different, google your specific device to find out how to change DNS settings), or you can set the DNS server on your router. The second method will make every device in your network use the Pi-Hole.
To do this, log into your router and find the Internet or WAN section. From there you can enter the Pi-Hole’s IP as the DNS server and add a second for backup. I use 8.8.8.8 as the backup (Google). This is from my Netgear Router.
The Web UI
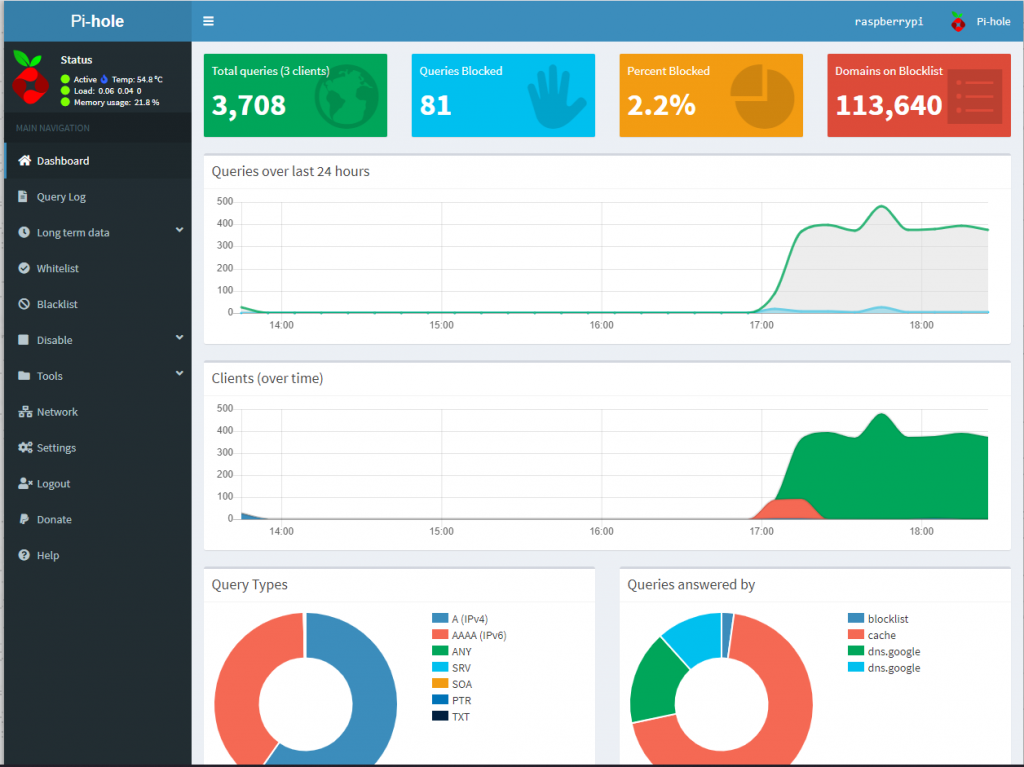
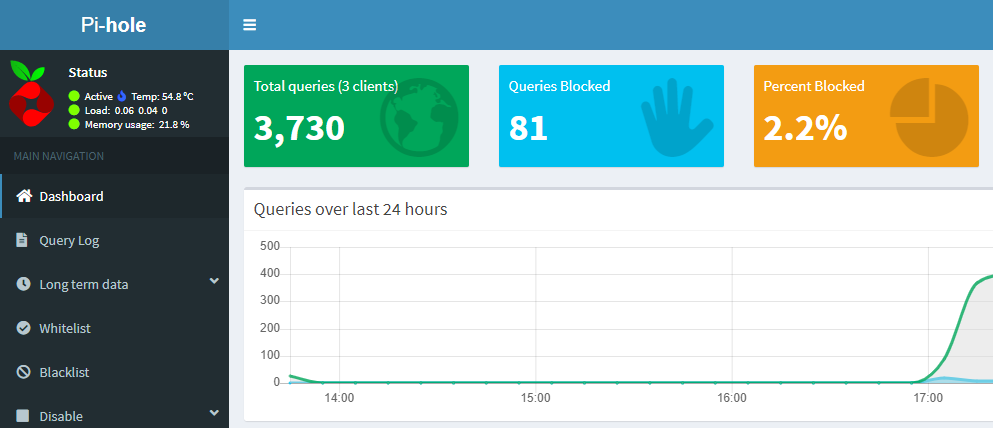
I really like the web interface to the Pi-Hole. You can monitor everything and see how many requests are being blocked. You can also blacklist and white list custom sites. You can also disable the Pi-Hole for a set time if needed. You can even check which devices are making the requests.




Hi Jarrod,
Thank you for posting this very useful and clear guide on the Raspberry Pi’s use as a DNS server via pi-hole. I’m a newcomer to the field and just set up my Raspberry to do just that. All went well in principle, but I did run into trouble and was wondering if you wouldn’t mind offering advice…
First, a (probably very dumb) question: In my Asus router, I have set OpenDNS as my DNS servers. I also set OpenDNS as my upstream DNS servers in the Raspberry/pi-hole — is this the correct approach?
I have had problems before with the Asus router, so I didn’t want to assign the Pi-hole IP to the router’s DNS server without doing a “more local” test first. I, therefore, began by setting my MacBookPro’s DNS server to the Raspberry’s (static) IP address.
This did work and the pi-hole logs indicated that it had blocked several servers. Unfortunately, after a few minutes of “test” browsing, the pi-hole DNS server suddenly failed (I presume?); i.e., the websites I browsed to just couldn’t be reached. Changing the Mac’s DNS server back to the original router-based DNS server solved that. I repeated testing twice with the same results both times.
Would you possibly have some advice on what might be happening?
Many thanks in advance.
Fritz.
Hey Fritz,
Thank you so much, i’m really glad this helped!
When testing yes that is the correct approach, once you have got it working reliably you can then change your routers DNS.
Although i do usually use google (8.8.8.8) or Cloudflare (1.1.1.1). But any dns should work.
There are a few things to start with
– It could be that the SD Card you are using is corrupt, is it new?
– The raspberry pi could be under powered, are you using the official power adapter?
– Is the raspberry pi an old model?
Truly appreciate your prompt response and advice, Jarrod — Thanks.
I’m using a new Raspberry 4 B and a corresponding power supply provided by the kit vendor (Kanakit) — not sure it’s the official one, but it should be appropriate.
But there’s a chance that the SC card might be at fault, as you suggested. It’s one of my own and I did all the downloading and burning, etc., pretty much following your guide. I’ll take another stab at that entire sequence and hope that might solve it.
I’ll post again when done with that.