

In this how to I will show you how to install the Synology drive client on mac. I am assuming you have already setup the Synology drive package. If you haven’t, follow my guide here.
- Head to this link to download the mac dmg package for drive. Alternatively, go to the Synology downloads page and select your NAS, then select Desktop Utilities.
- Double click the installer to begin
- Select Continue for the three following screens
- Then select agree
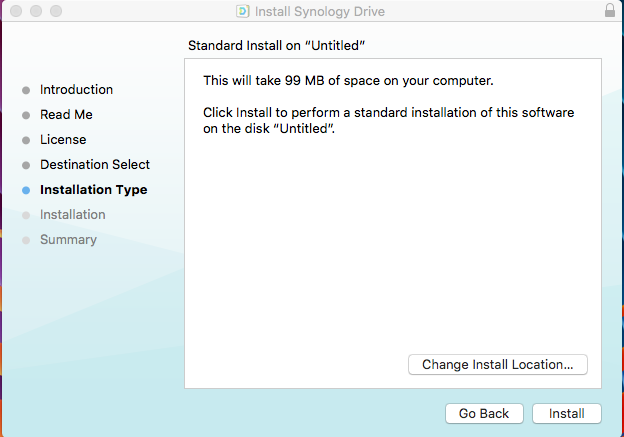
- Now select install
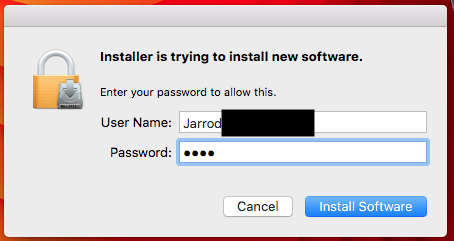
- Enter your password
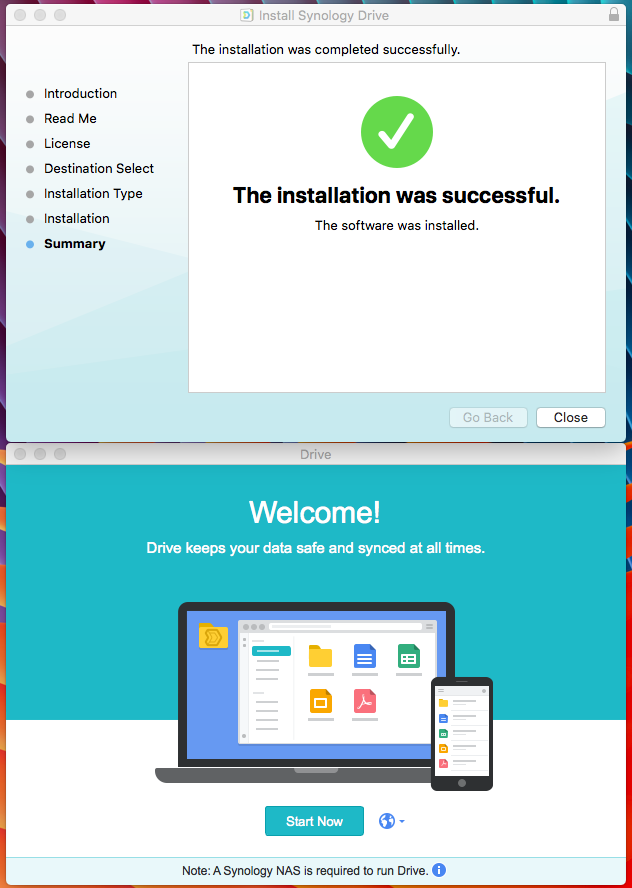
- You should then see an installation successful screen and a welcome screen. Click start now
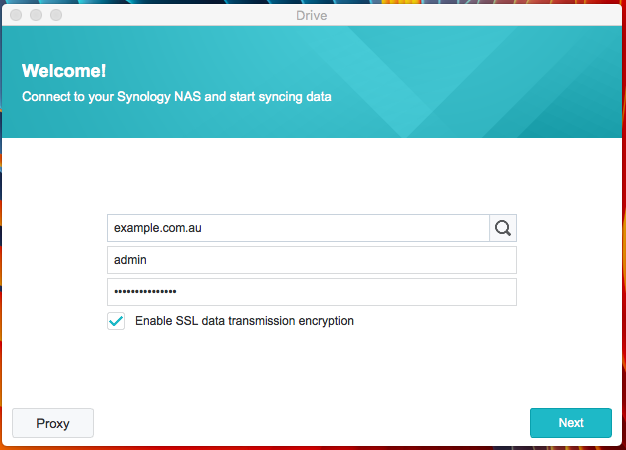
- Enter your NAS details, you can use your local ip if you will always be connecting via your lan. However if you intend to use your drive out of the house it is best to use a domain name or your quickconnect id. Also enable ssl if you have one installed. If you don’t, you can learn how to add one here.
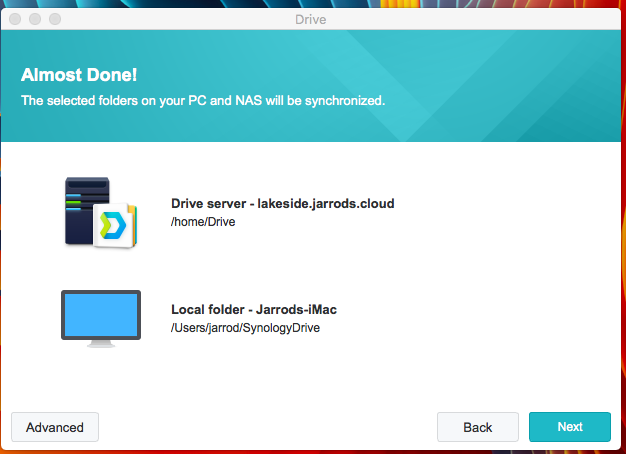
- Unless you would like to change the location of the sync folder on your mac, select next
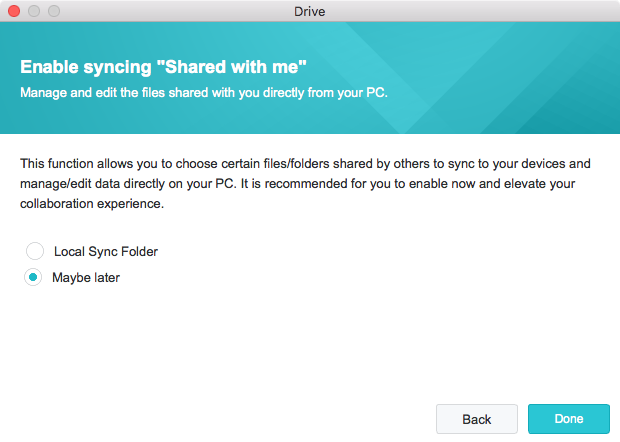
- Select weather you would like to sync files that have been shared with you
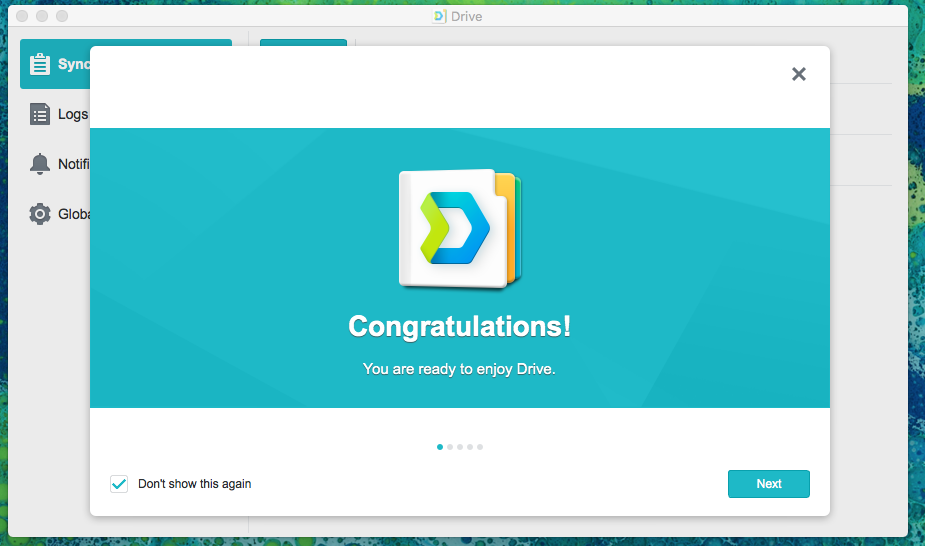
- Now your ready to go
- Your files will now begin synchronising.
- You can monitor the progress with the Drive icon in the notification area in the top right corner.


Recent Comments