

Having a secure website these days is a must. Luckily installing an SSL certificate with cPanel is easy. Below I will show you the steps for installing a free SSL, you could also use a paid SSL. If you already have your SSL, skip to the second section.
The SSL Certificate
- Head to your chosen SSL provider. I will be using a free provider today.
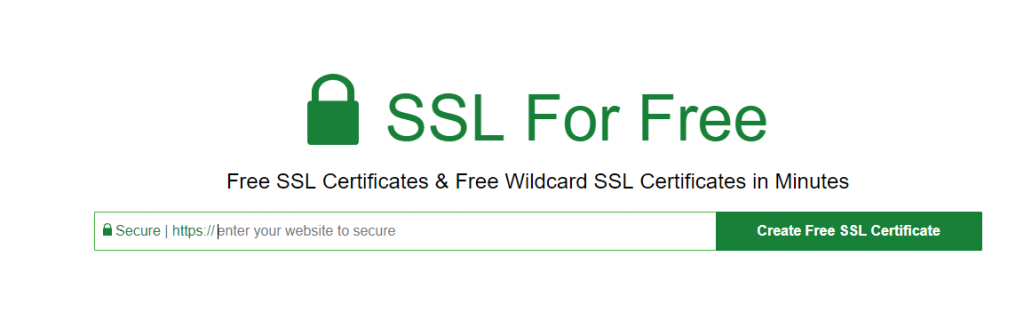
- Enter the domain name you would like to protect.
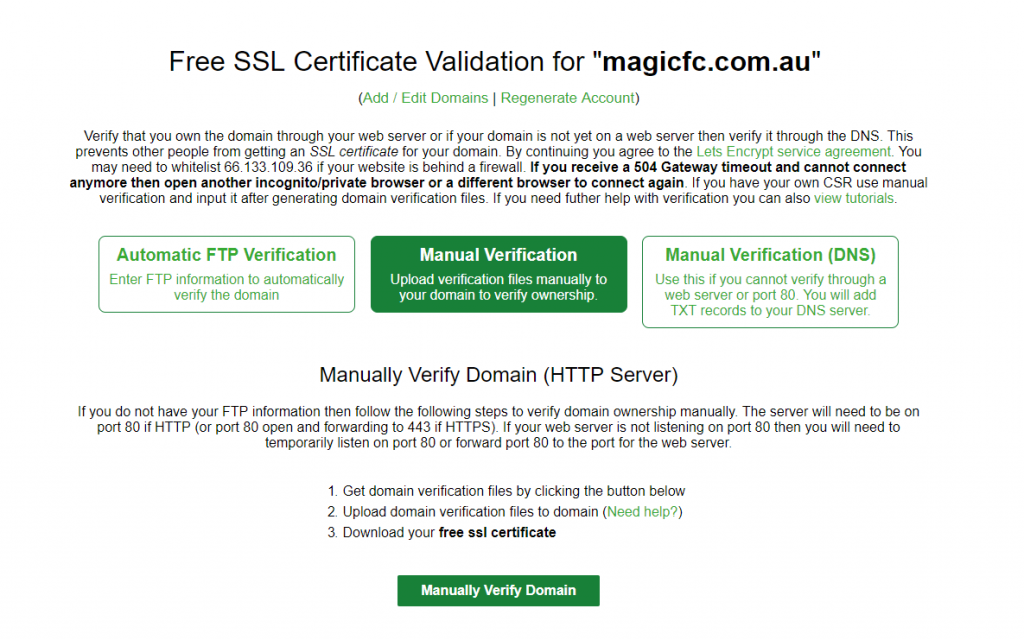
- You get a few options for verification, I am going to choose upload a file. If you use a paid service you can also use Email verification.
- To use the file upload method, you log into your hosting using ftp and filezilla for example. Then create a folder in the website folder called .well-known then a folder called acme-challenge then paste the file you downloaded into that folder. You can check that it works by pressing the test link.
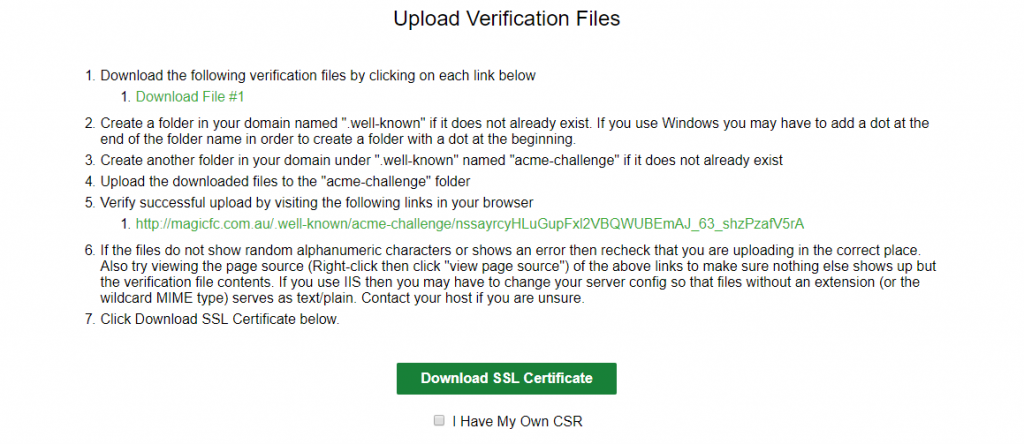
- After you have tested, press the “Download SSL Certificate”. This will give you three boxes of text.
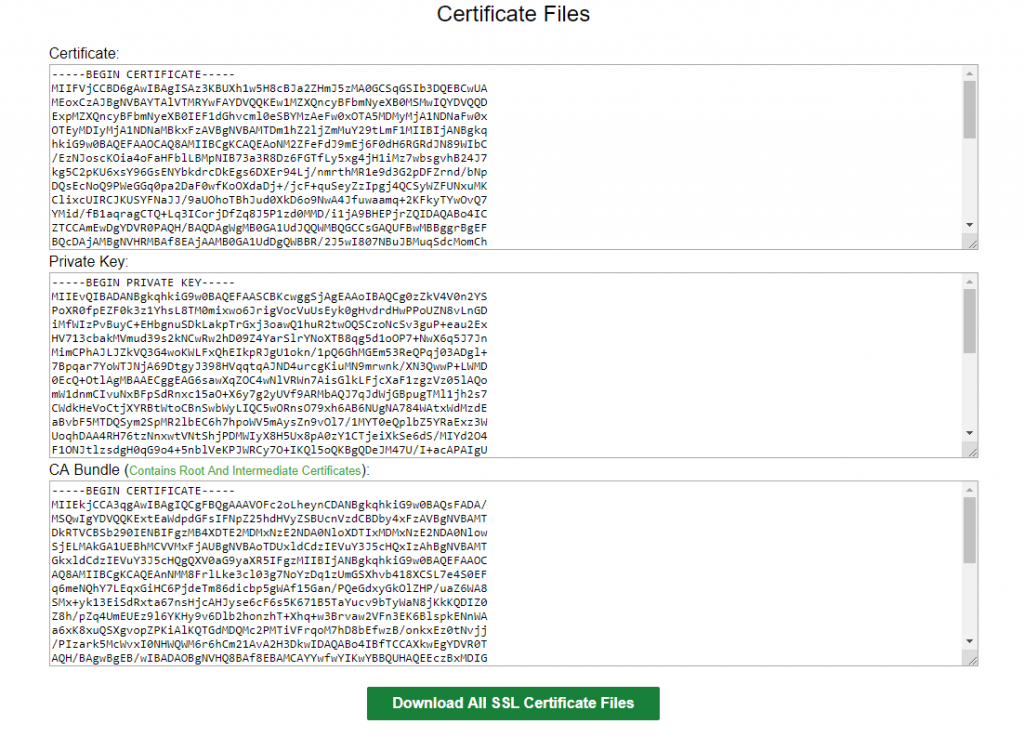
- Keep this open as we move to the next steps
CPannel Installation
- Log into your cPanel.
- Go to the security section.

- Select “SSL/TLS”.
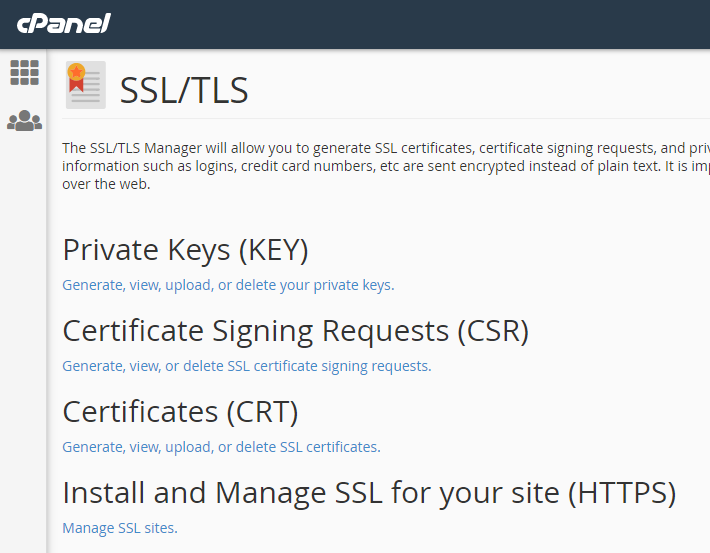
- Select “Manage SSL Sites”.
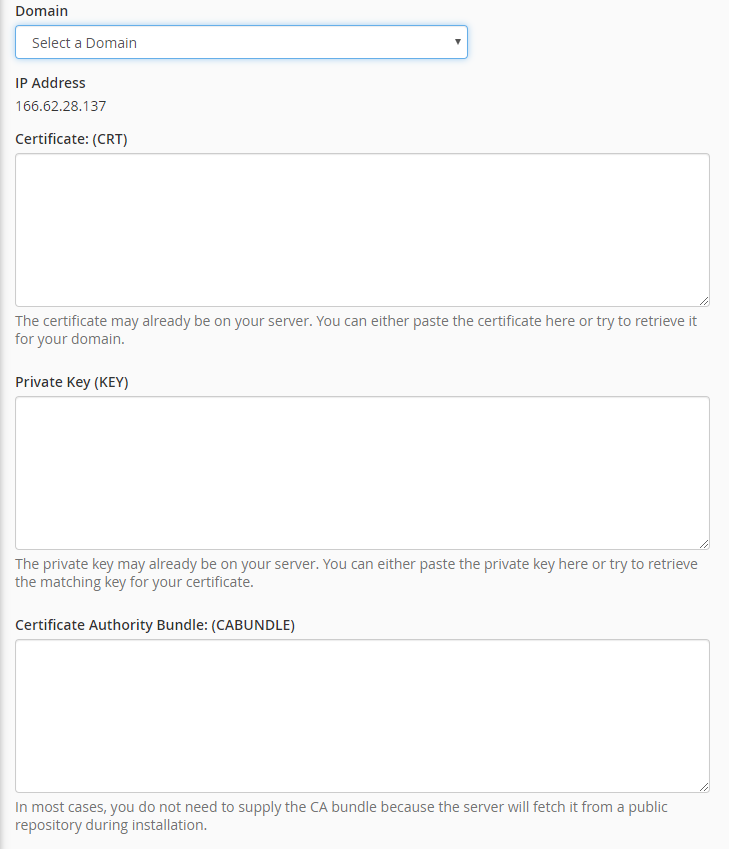
- From the Domain drop down list, select the domain you would like to add the SSL to.
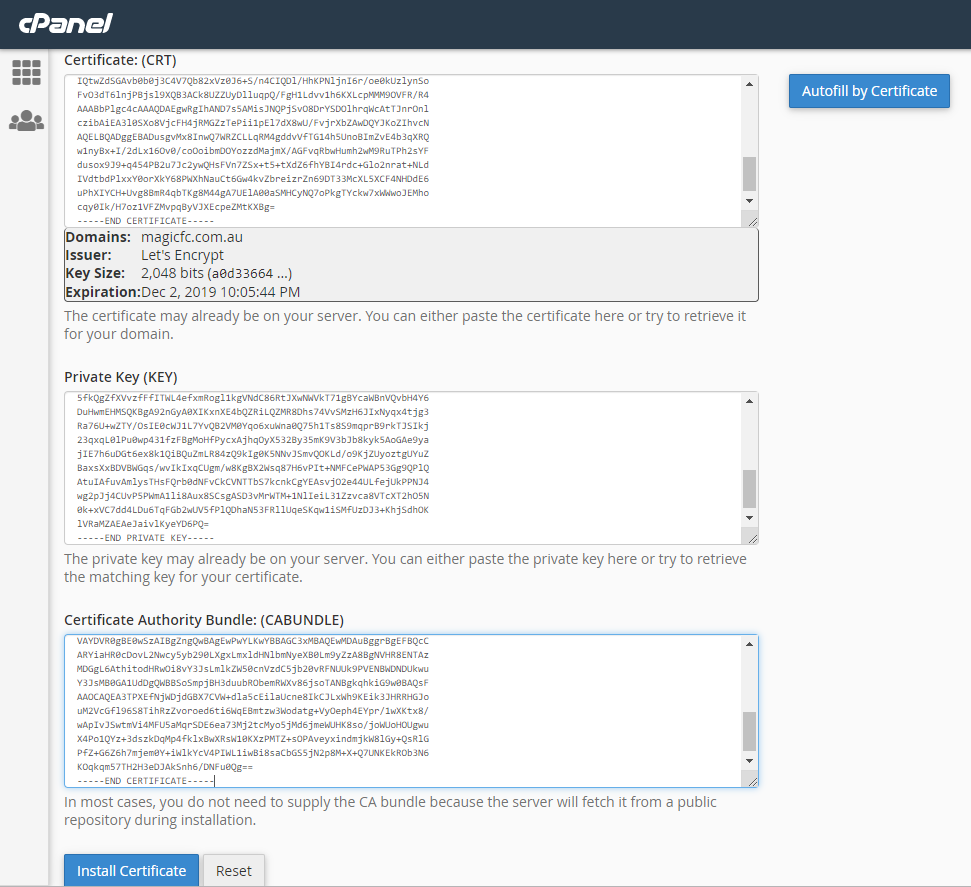
- Paste the text from each box in step 5 of “The SSL Certificate” to the corresponding boxes in Cpanel.
- Then select install certificate.
- You should get a prompt saying the site is now secure.


Recent Comments