
Recently in my HomeLab I have started using ESXI to manage my VM’s. It’s a good hypervisor and relatively easy to use for simple use cases. Even in my HomeLab I still want to back up VM’s that are important. Since I already have a Synology NAS, it makes sense to use their active backup for business backup solution.
Connect to ESXI from Active Backup
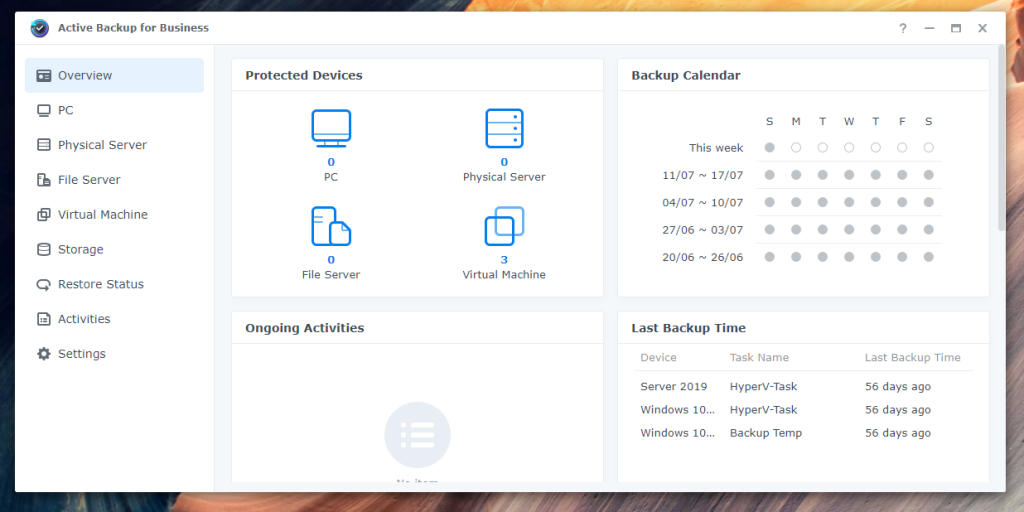
- Open package manager on your Synology and install “Active backup for business”
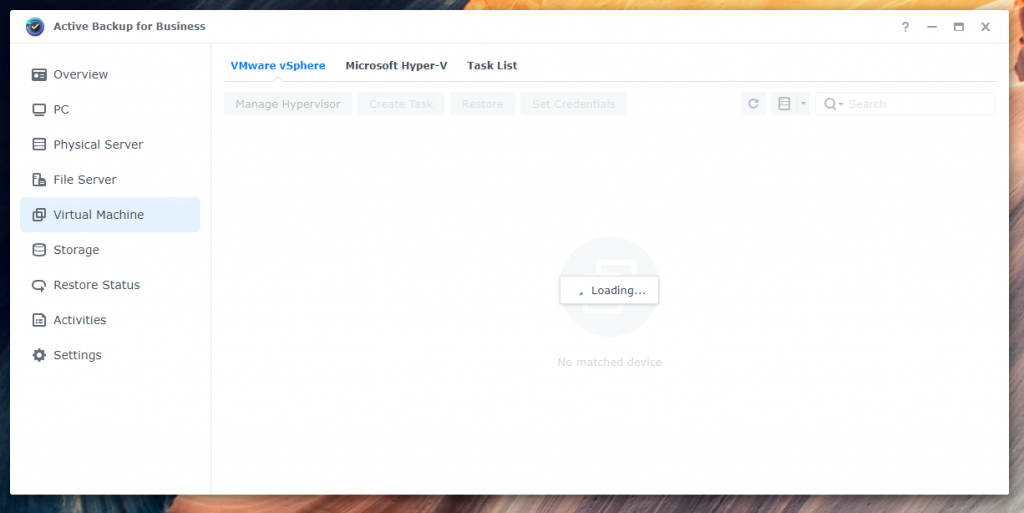
- Once open, select the “Virtual Machine” tab and then select “VMware VShpere”
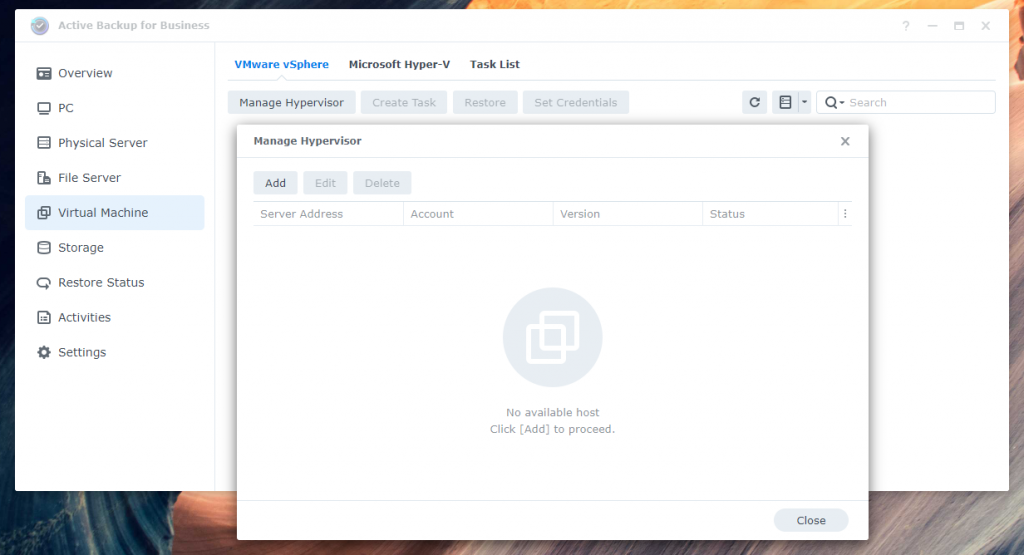
- Select “manage hypervisor”, then “Add”
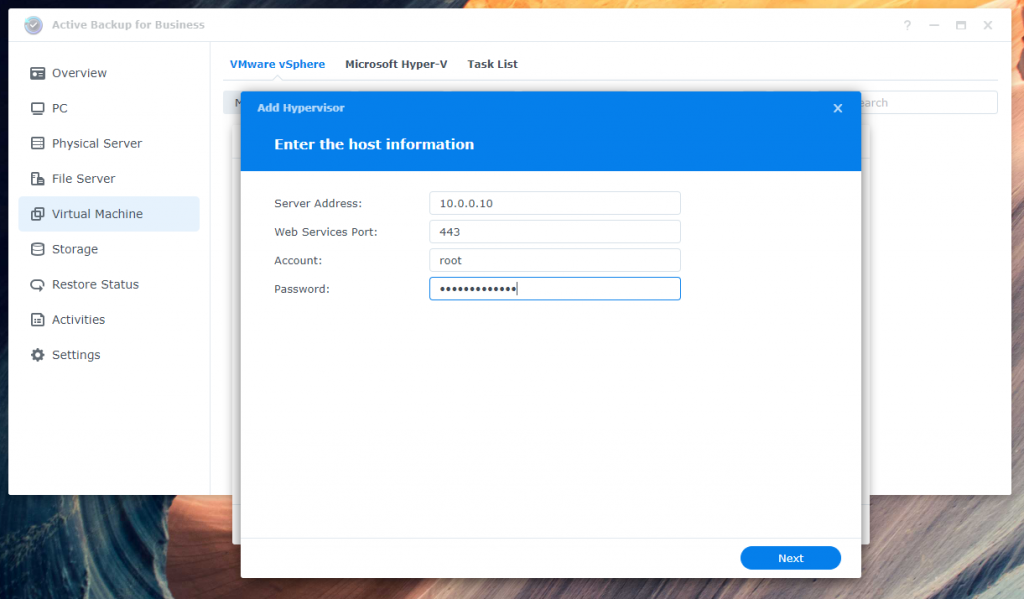
- Enter your ESXI address, username and password.
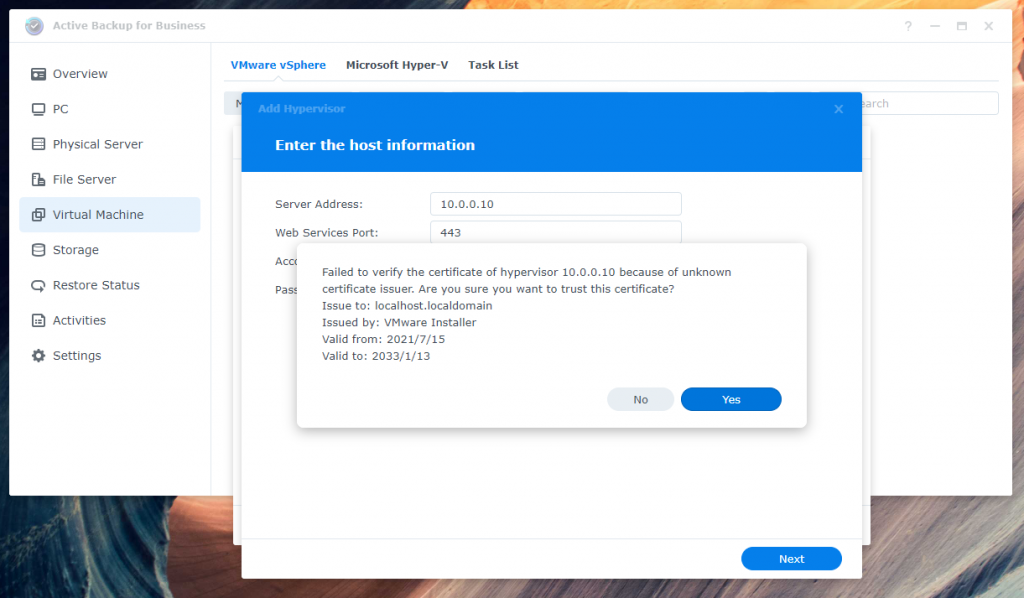
- If you get a certificate warning press “Yes”. If you’re in a production environment you should get a Cert from a trusted CA.
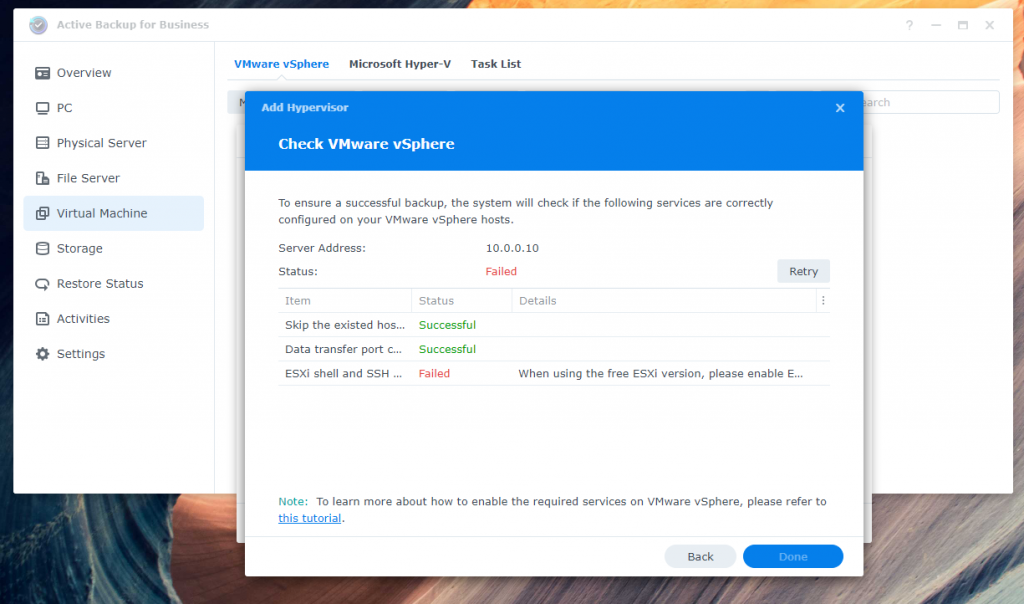
- Since I am using the free version, I need to enable ESXI shell and SSH.
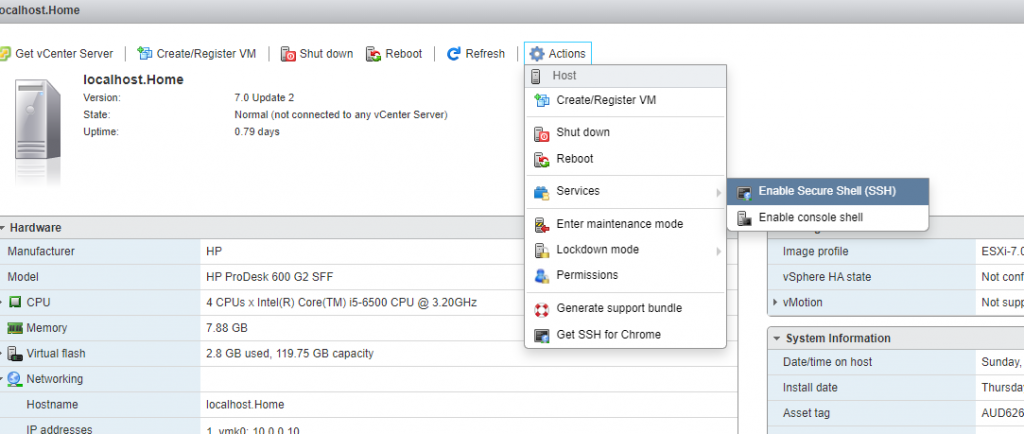
- Head to your ESXI web GUI and on the “Host” menu, select “Actions” from the top bar. Then hover over services and enable both SSH and Console.
- Go back to Synology and press “retry”, it should be successful for all options. Press Done.
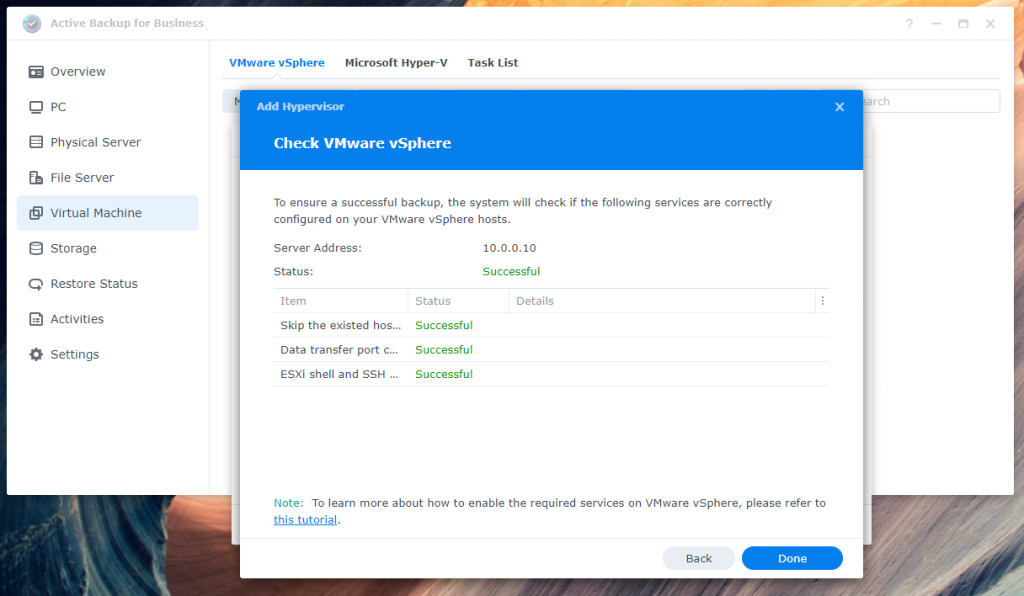
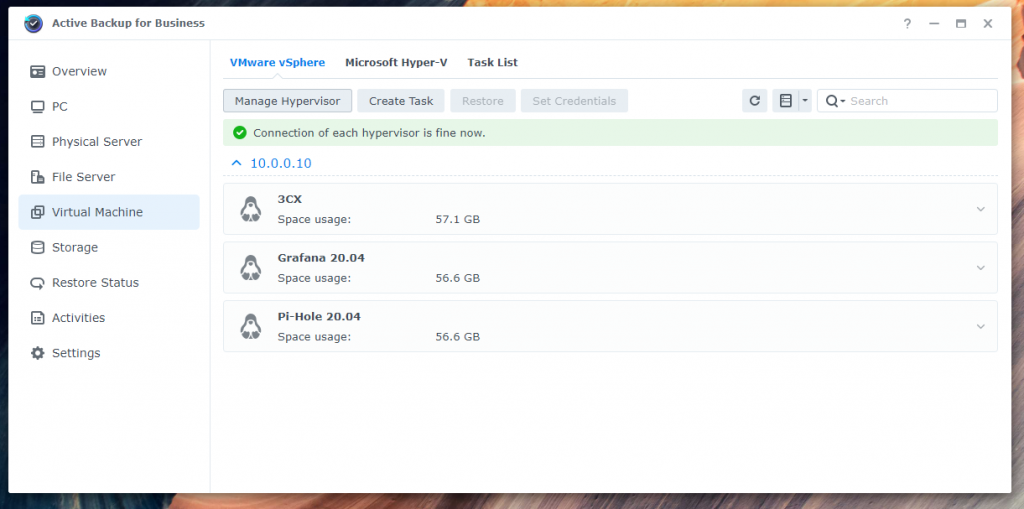
- Now we are connected to ESXI.
Backing Up the VM’s
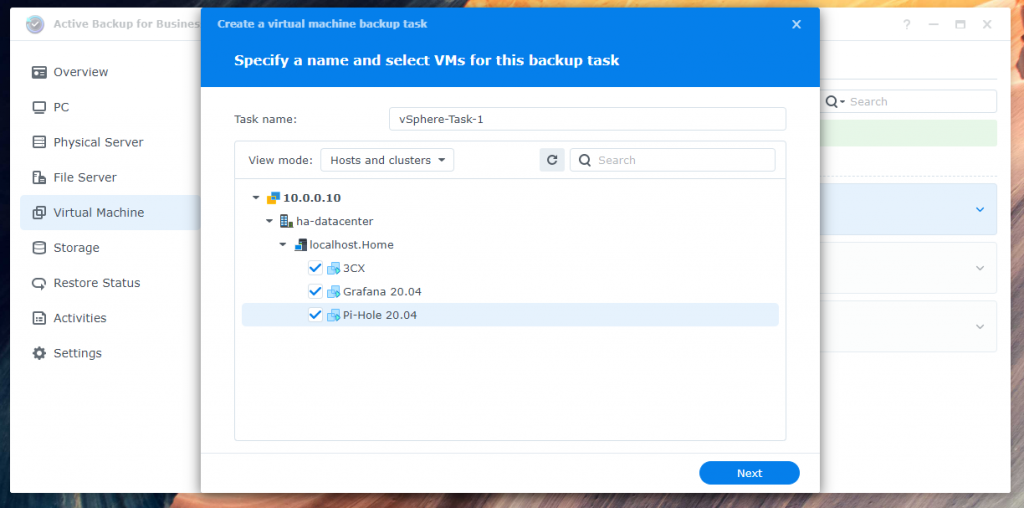
- Select “Create Task”
- Check the box beside the VM’s you want to back up. Then press Next.
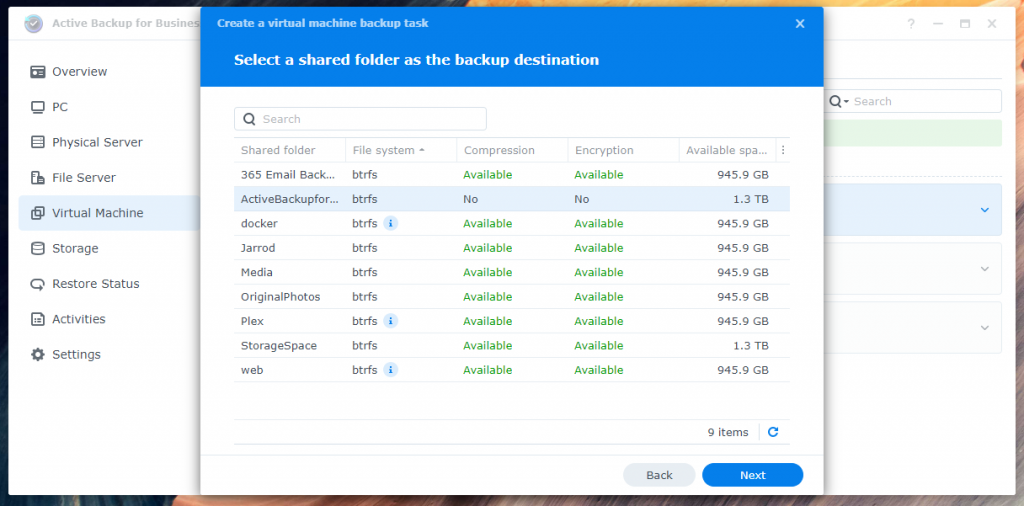
- Select the shared folder where you want to store the backups. Then press Next.
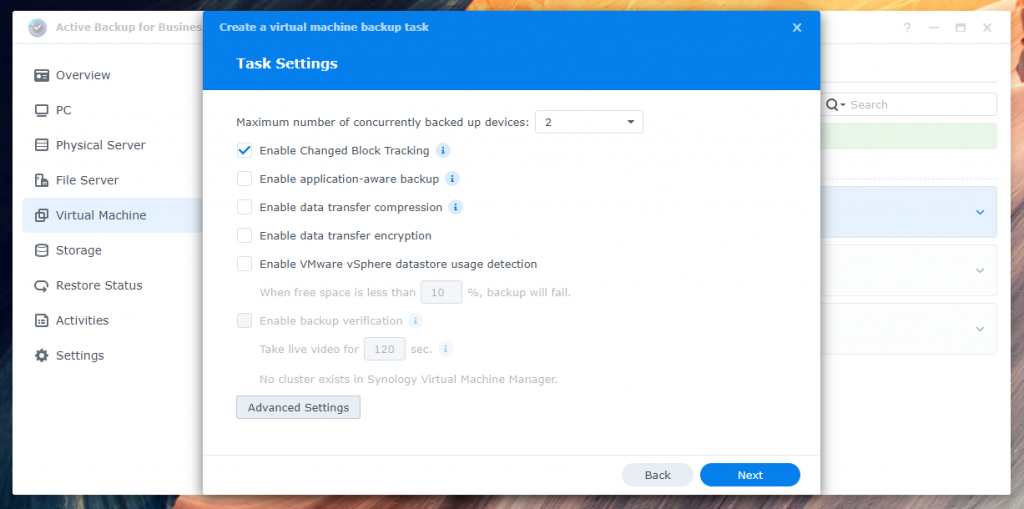
- I am going to leave the Task Setting as is. You can enable encryption and compression if needed.
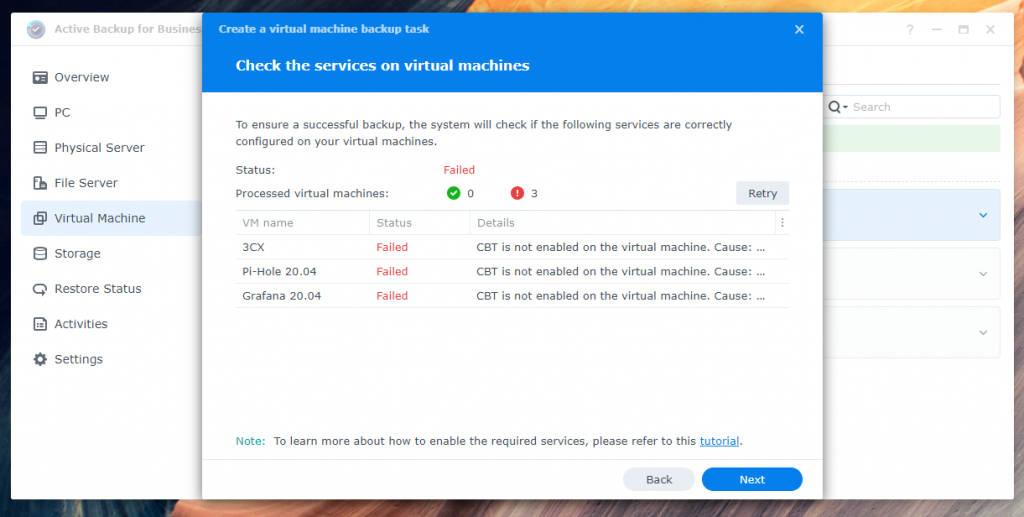
- Since I am running the free version of ESXI, I will have to enable CBT manually for each machine.
- Open ESXI and Power off the virtual machine.
- Right-click on the virtual machine and click Edit Settings.
- Click on the VM Options tab.
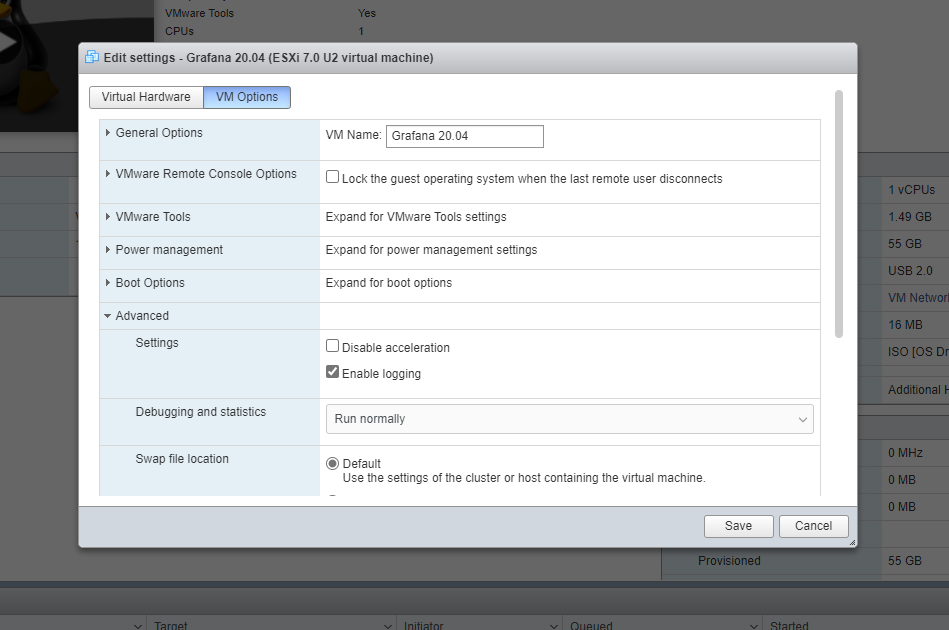
- Click Advanced, and then click Edit Configuration next to Configuration Parameters. A box will open.
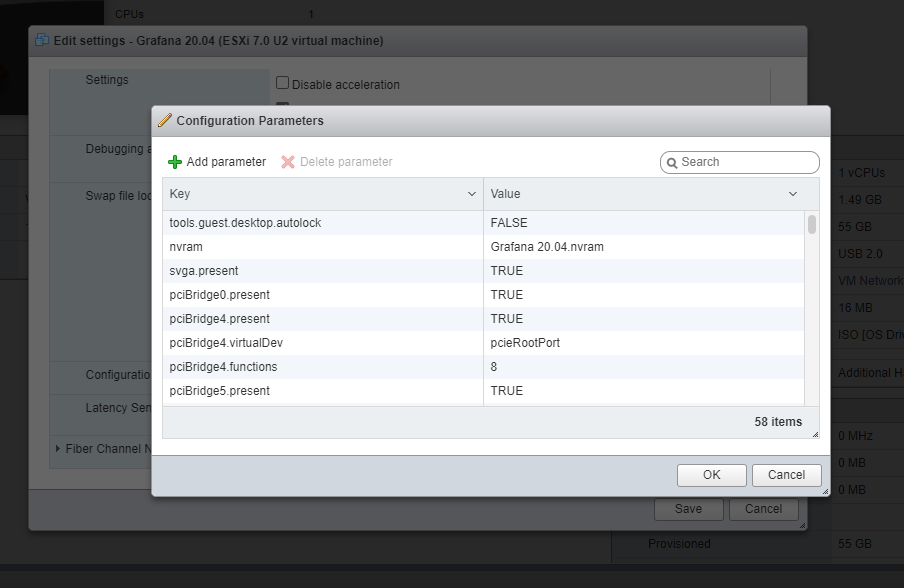
- Add a parameter ctkEnabled key and then set its value to TRUE.
- Similarly, add another parameter with the scsi0:0.ctkEnabled key and the TRUE value to the configuration. (If you added the disk second, you may need to use scsi0:1)
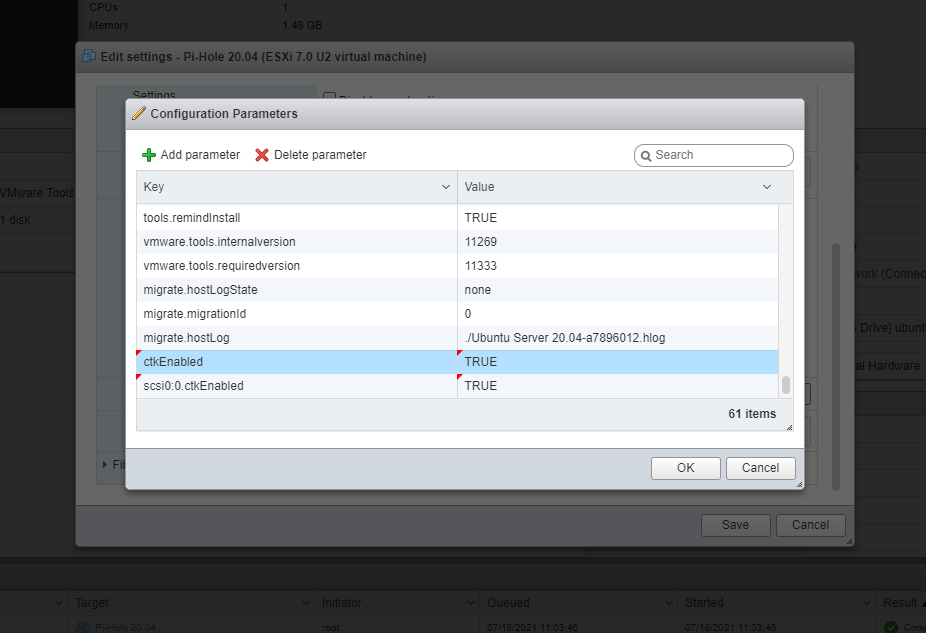
- Press Ok and start your VM.
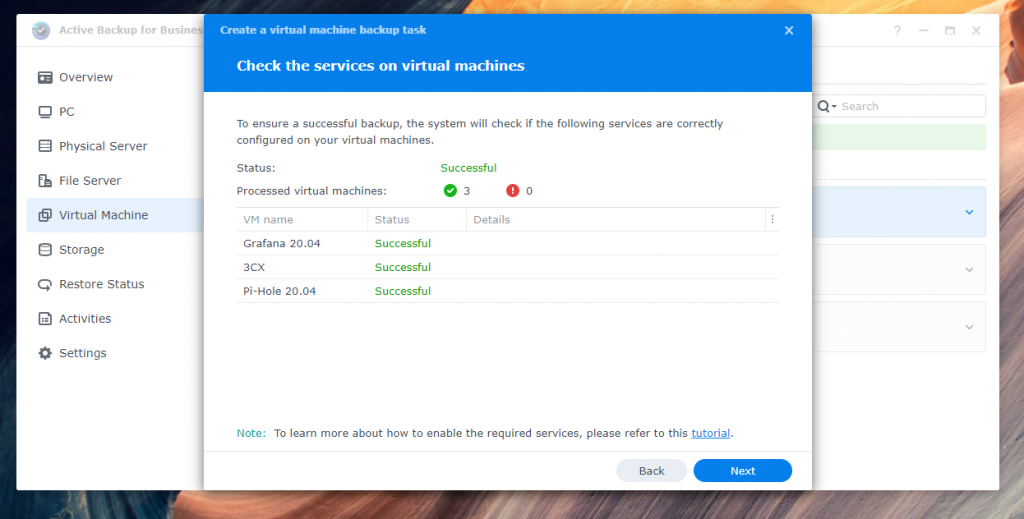
- Go back to your Synology and press “Retry” and if everything is done correctly, it will show successful.
- Now choose the backup options. I am going to choose 3AM every day.

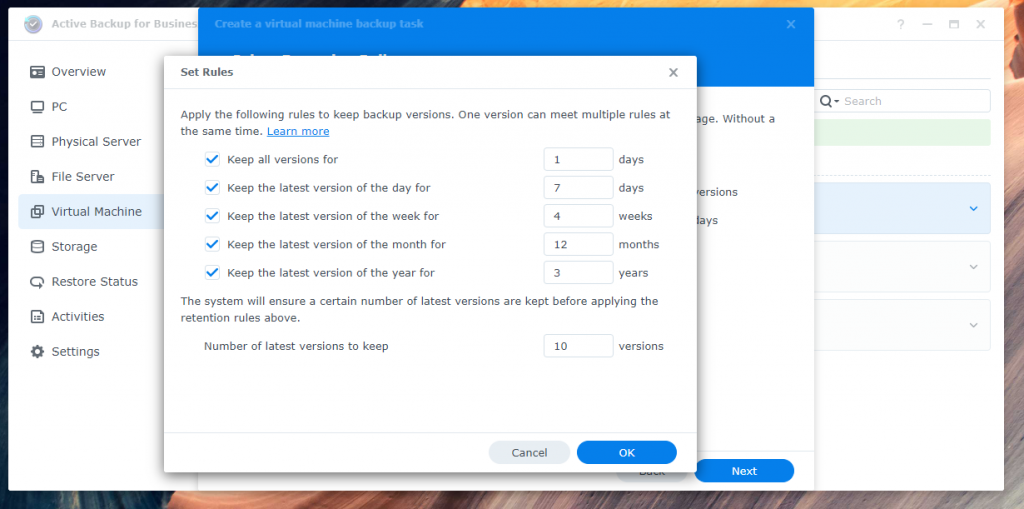
- I am going to choose advanced retention. I will also change the eversions to 25.
- If everything looks good, press Done.
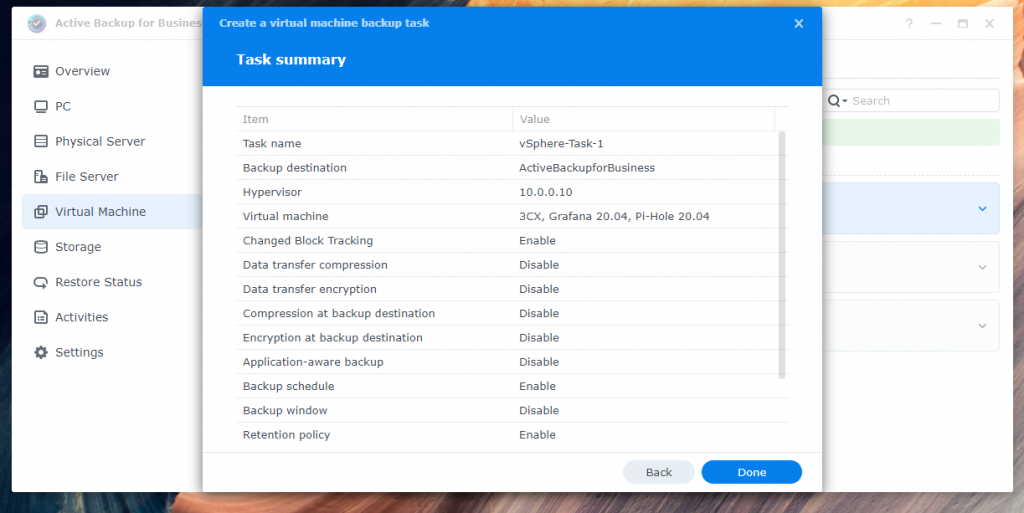
- Active backup will now begin the backup.
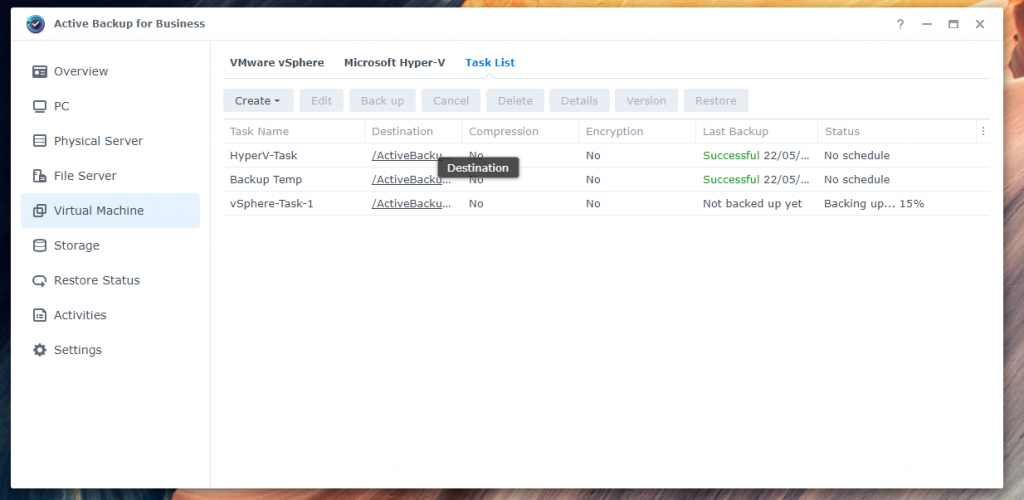
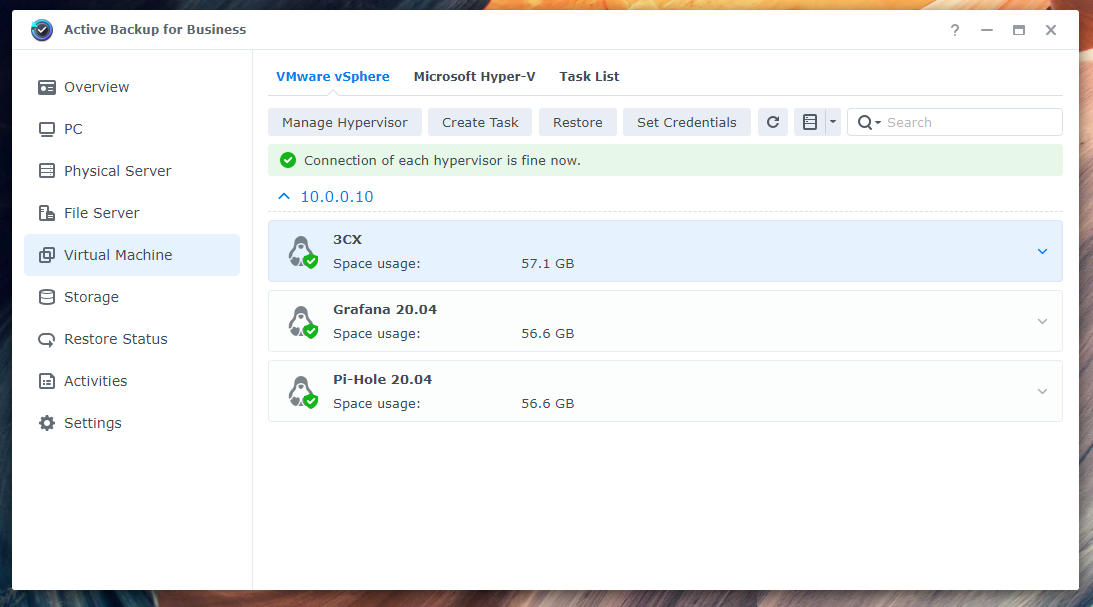
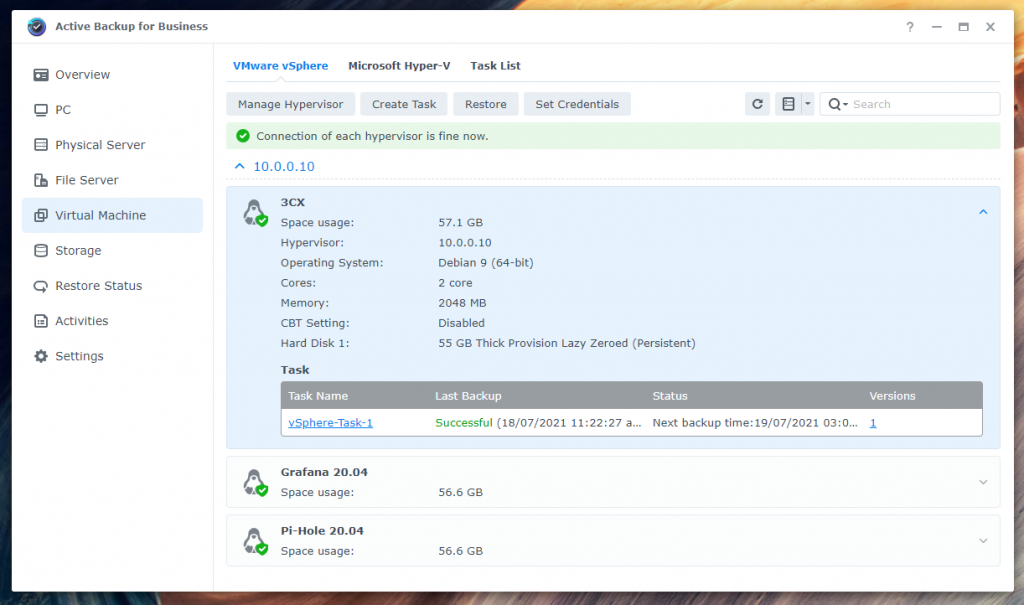
- Now go back to the VMware vSphere page and you will see the VM’s and their backup status.
Sidenote
If you are using the free version of ESXi you will need to re-enable SSH and Console after each restart.


that’s excellent! I was not aware until now that ABB can backup so easily free ESXI. (tested on esxi 6.5.)
Thanks for the blog article, much more helpful than Synology. Sidenote is very important.
does it work on esxi 7.0 as well?
thanks,
Sorin
Hey Sorin,
Glad it helped you. Yes I have tested it with ESXI Free 7 and 8.
Thanks Jarrod, helped me as well, on free version of exsi 7.03 u.
Thanks Devin, glad I could help! 🙂
Is there possibility to do backup of ESXi server itself?
Hey Aleksandar,
If you are backing up the vm’s there really is no need to back up the ESXI server itself.
I have an old hp dl380 gen 7 with the free version of ESXI version 6 is it possible to configure the nas with the version I currently have?
Thank you
Hi, Yes it will work with ESXI 5+