I’ve recently installed a large water tank in my garden. I could have installed a manual, analog system to see the water level but that would be no fun. I wanted a way to integrate this with home assistant. I ended up using an ESP32 and an ultrasonic sensor to measure the distance to the water.
Parts Used


Build and Setup
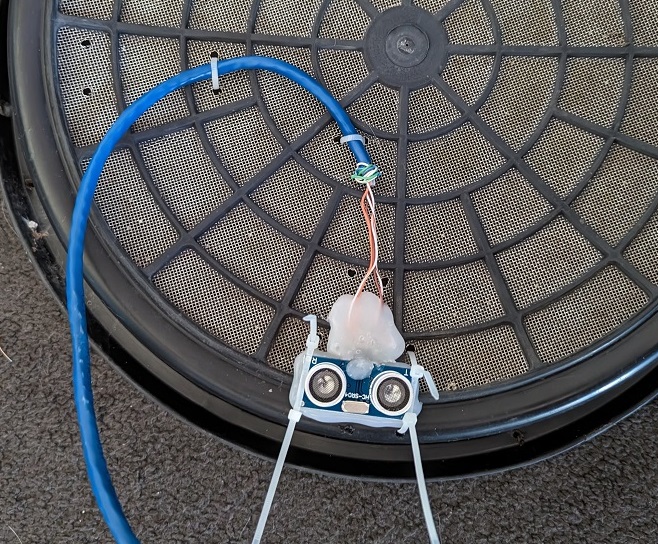
- The first thing was to install the ultrasonic sensor, this was done by soldering ethernet cable to the ultrasonic sensor and covering it in hot glue in an attempt to waterproof it. I then attached this to the filter lid of the tank. The ultrasonic sensor needs to be able to see to the bottom of the tank, if the water is low. This is how it will determine water level. (I have had this working for over a year now)
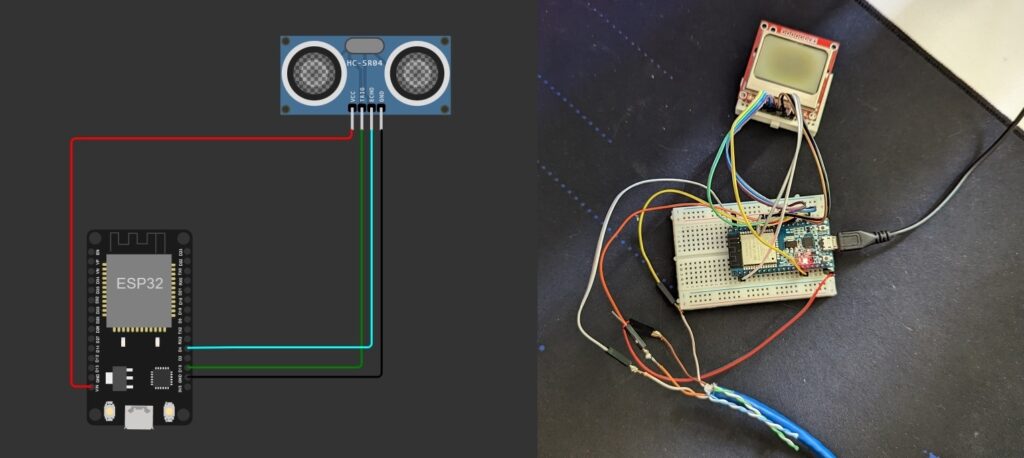
- Next is to connect the other end to the of the ethernet cable to the ESP32 board. This is a diagram of the wire layout I have used, it lines up with my code below. It is VCC = VIN, Trigger = D15, Echo = D4, Ground = GRD
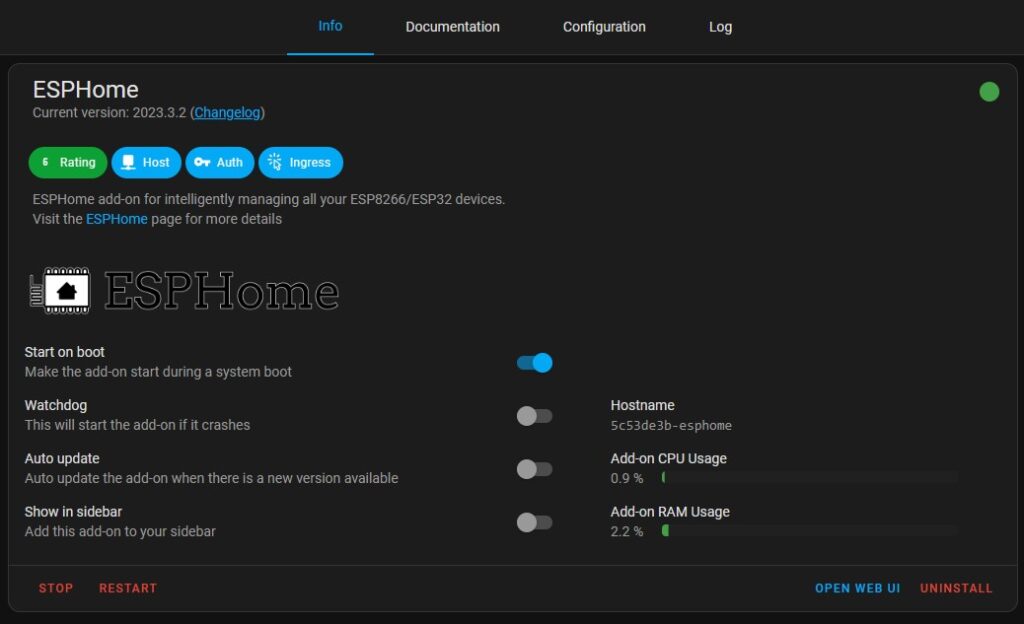
- Once the wiring is done, we can connect the ESP32 to Home Assistant. First open Home Assistant and go to Setting -> Add-ons and click the blue add-on store button. Select the ESPHome add on and then select Install. Once installed you will see the “Open Web UI”, select this to bring up the ESPHome add-on.
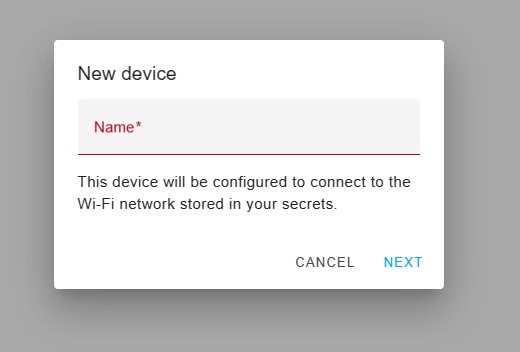
- Select the green “New Device” button. Give the device a name, mine will be tank-level
- Now connect your ESP32 to your computer with a USB cable. Then select connect.
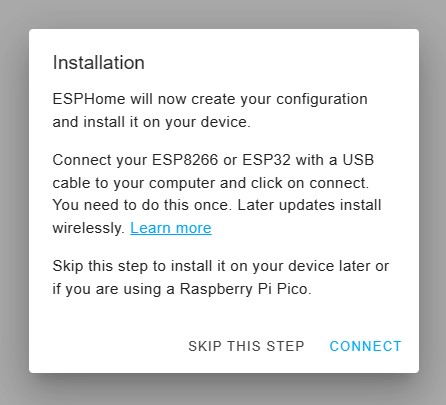
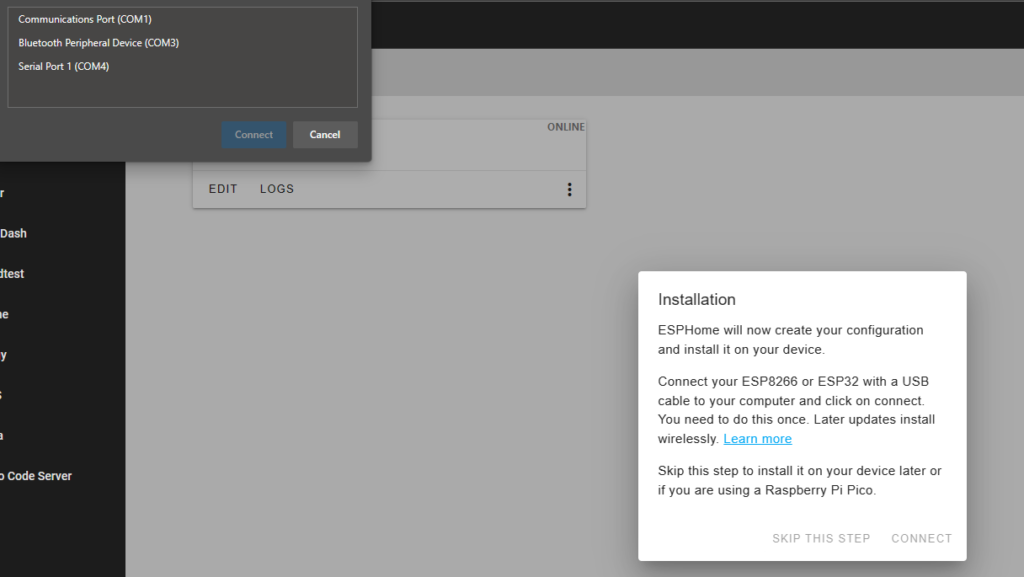
- This will then ask you to select your device. It will show as a COM device. Mine is already set up, but yours will show up in the list that appears.
- Follow the next few screens, you should then be bought back to the main ESPHome screen. Select the “Secrets” button from the top right. Here, enter your WIFI details.

- Select “Edit” on the ESP32 device you created earlier. Then copy and paste the code below, under the current code. Change the number 1.74 to the height in meters, from the bottom of your tank to the ultrasonic sensor. Change the number 2500 to how many litres your tank can hold.
# Water Level Sensor

sensor:
  - platform: wifi_signal
    name: "WiFi Signal Sensor"
    update_interval: 60s          #to display WiFi signal strength
    id: wifi_level

  - platform: ultrasonic
    trigger_pin: GPIO15
    echo_pin: GPIO4
    unit_of_measurement: "%"
    icon: "mdi:water-percent"
    id: water_percent
    accuracy_decimals: 0
    update_interval: 600030ms
    name: "Water Level"              #You may change the tank name

    filters:
      - lambda: return ((1-(x/1.74))*100);
      - filter_out: nan

  - platform: ultrasonic
    trigger_pin: GPIO15
    echo_pin: GPIO4
    unit_of_measurement: "l"
    accuracy_decimals: 0
    update_interval: 600020ms
    name: "Water Volume"

    filters:
      - lambda: return (1-(x/1.74)) * 2500;
      - filter_out: nan

  - platform: ultrasonic
    trigger_pin: GPIO15
    echo_pin: GPIO4
    unit_of_measurement: "m"
    accuracy_decimals: 3
    update_interval: 600010ms
    id: water_distance
    name: "Water Distance from Sensor"

    filters:
      - lambda: return (x);
- filter_out: nan- Select “Save” and then select “Install”, this will then push the code to your ESP32. You will need to select the USB option the first time and then select the com device in the pop up. After the first time you should be able to use WIFI OTA.
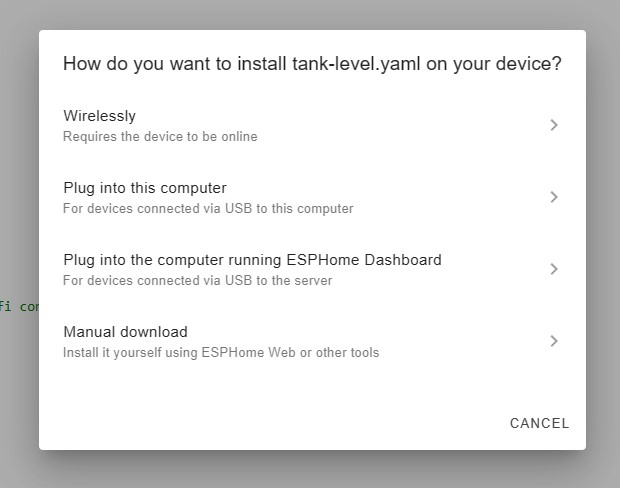
- Once selected, you will see the output of ESPHome pushing the code to your device.
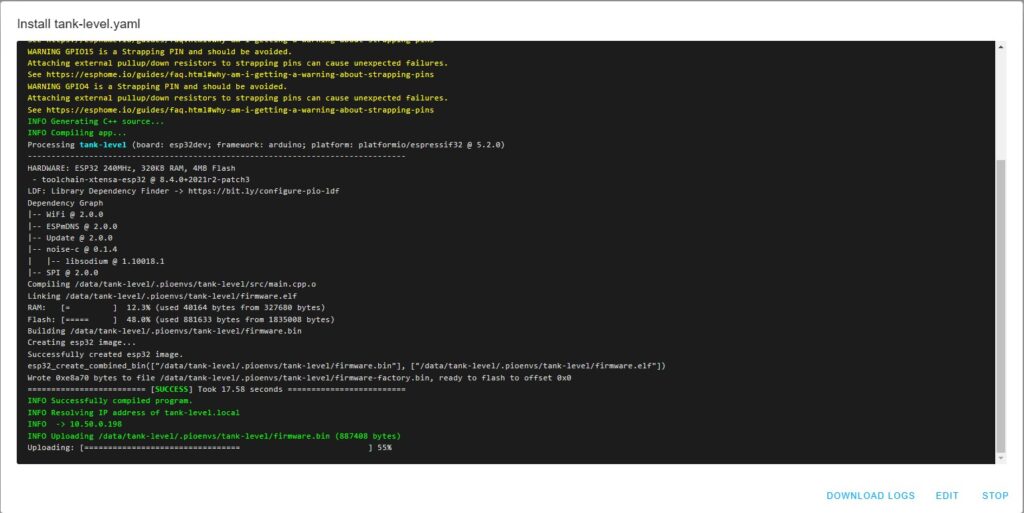
- Once finished, you should start to see output from the device.
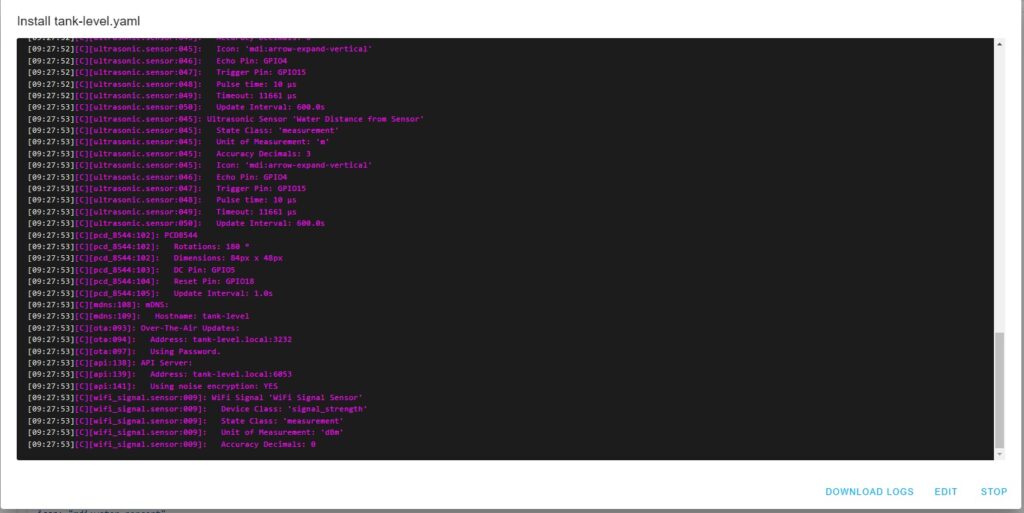
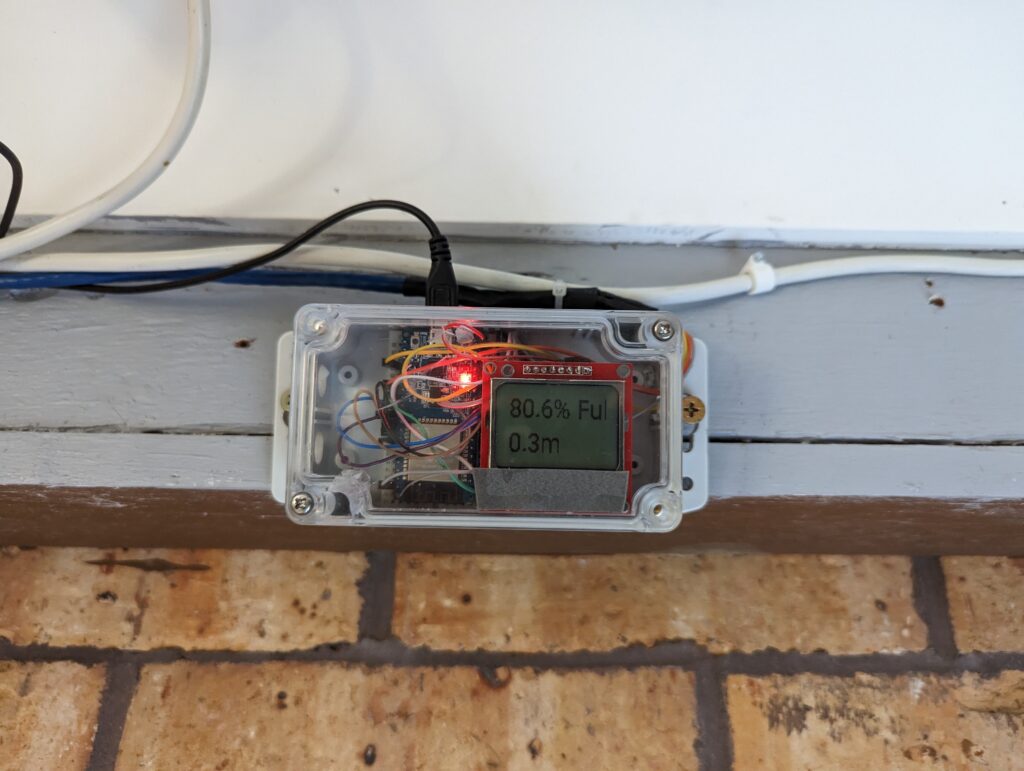
- Select Stop and then back. Now unplug the device from your computer and put in place at your tank. Once started, it should show Online in ESPHome. I have mounted my ESPHome in the shed and ran the cable out to the tank.
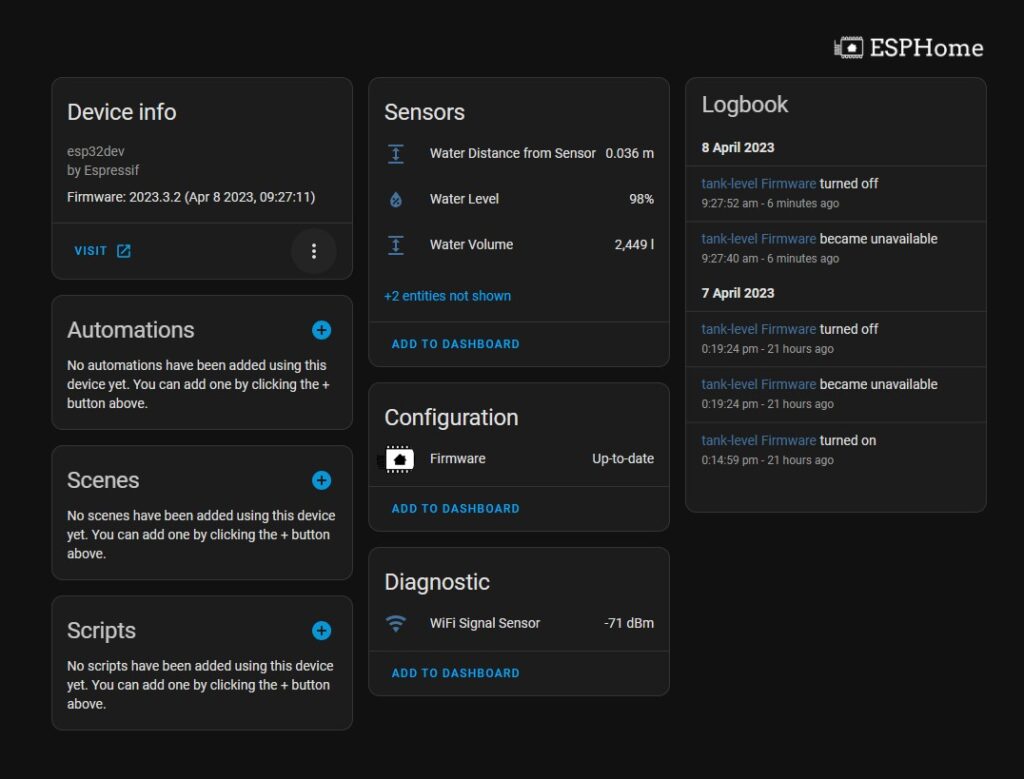
- In Home Assistant you should see a new device in Settings -> Devices. It will show as ESPHome.
Optional: The Screen
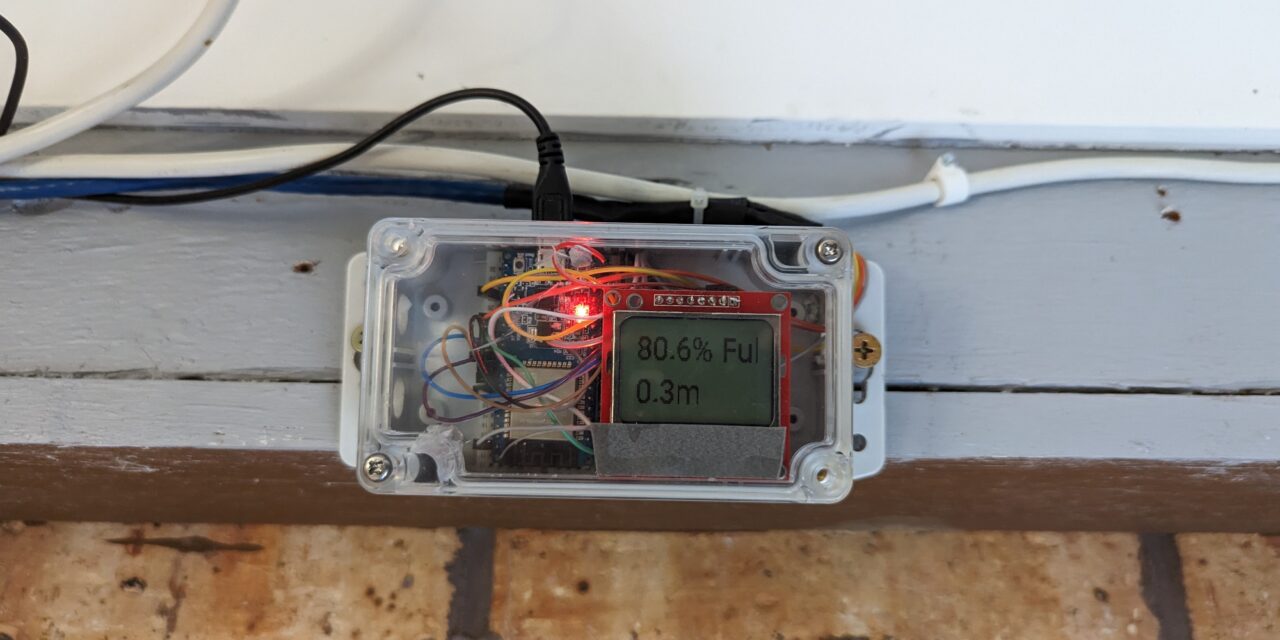
If you saw the screen earlier, this is the code and wire layout for it.
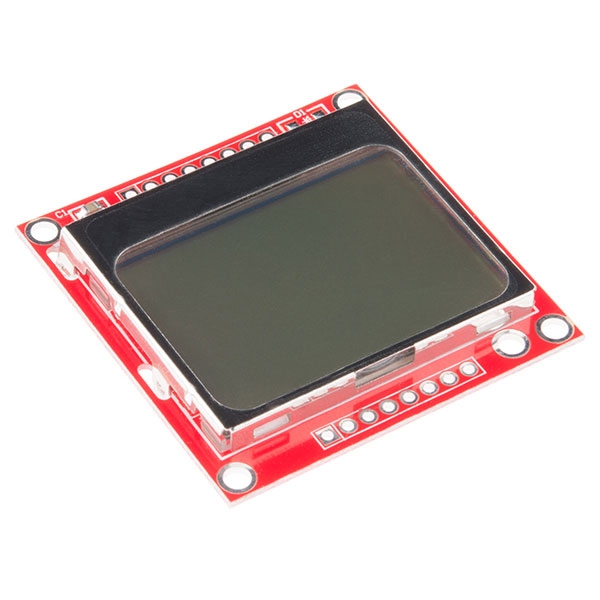
- The wire layout is SCLK = D16, DN<Mosi> = D17, RST= D18, SCE = D19, D/C = D5, GRD = Ground, VCC goes to the VIN
- Then you can just add the code below to the bottom of the device code, like in step 8.
spi:
  clk_pin: GPIO16
  mosi_pin: GPIO17

display:
  - platform: pcd8544
    reset_pin: GPIO18
    cs_pin: GPIO19
    dc_pin: GPIO5
    contrast: 0x3C
    rotation: 180
    lambda: |-
      it.printf(1, 0, id(my_font), "%.1f%% Full",id(water_percent).state);
      it.printf(1, 25, id(my_font), "%.1fm",id(water_distance).state);



Recent Comments