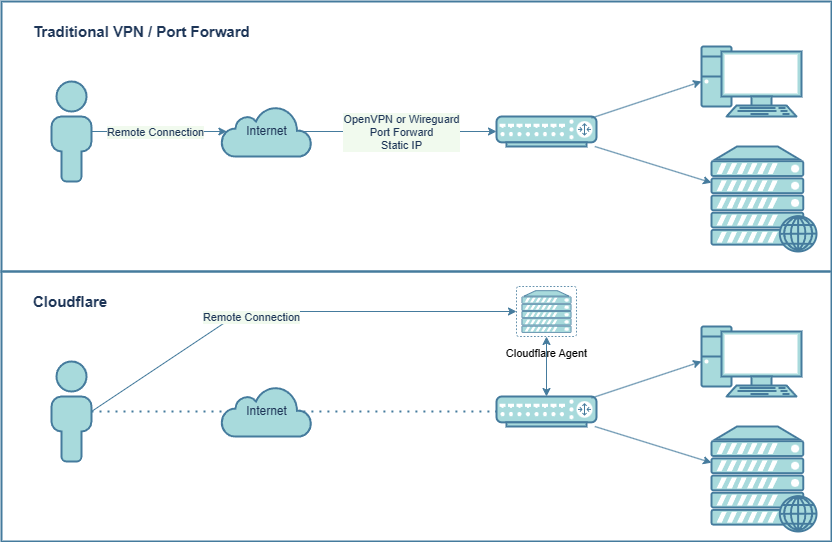
VPN’s are great, they allow you to access your internal resources remotely, without opening ports to the internet. Many homelab services may not use SSL and may not even support login. With a traditional VPN such as OpenVPN, Wireguard or IPSec you need to open ports for the VPN so you can connect.
Cloudflare zero trust works differently, you run a small agent inside your network. This agent creates a tunnel to Cloudflare and allows you to connect to your network remotely without exposing any ports. This will also work with CG-NAT and 4G connections. The internet connection is irrelevant and as long as there is any kind of internet access, you will be able to connect.
While you aren’t exposing any ports to the internet, you need to keep in mind that the Cloudflare agent has access to your entire network. It’s a security consideration that you will need to weigh up for yourself. I am not saying that Cloudflare is better than a traditional VPN, but it gives you more options, especially if you have 4G/5G or Starlink.
Creating a account and setting up a tunnel
- Create a free Cloudflare account. Once logged in select “Zero Trust” from the left sidebar. Choose a name for your tenant and select the free plan. It does ask for a credit card, however this is never charged on the free plan. This is not a trial, it is free for under 50 users.

- The first thing we are going to set up is the tunnel. This is how you access resources on your internal network. This is a small agent that creates the tunnel to Cloudflare’s network. It can run on any number of devices. I am going to set this up on a Synology NAS in docker, but you could easily use the windows version. The device just needs to be online for the connection to work.
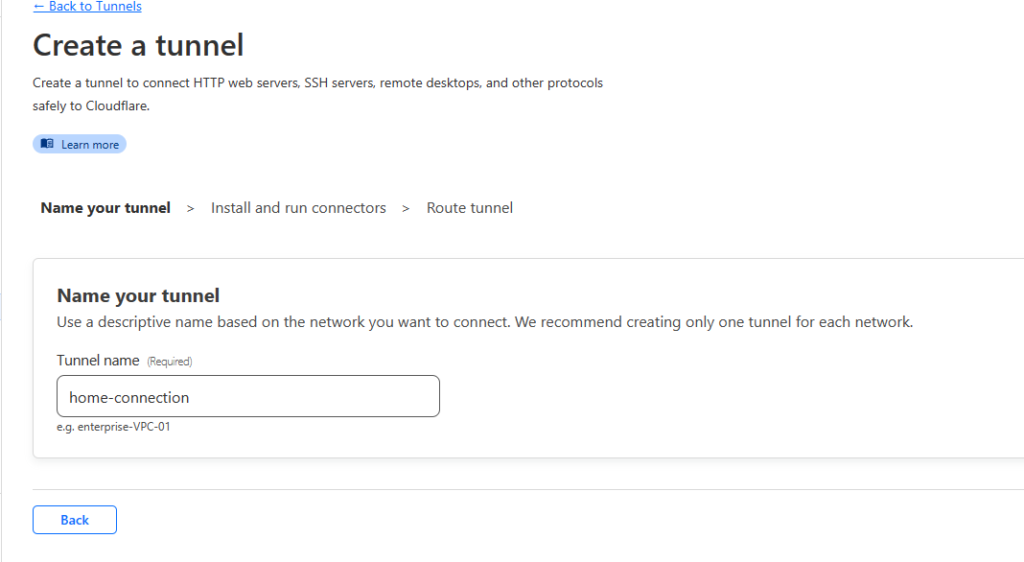
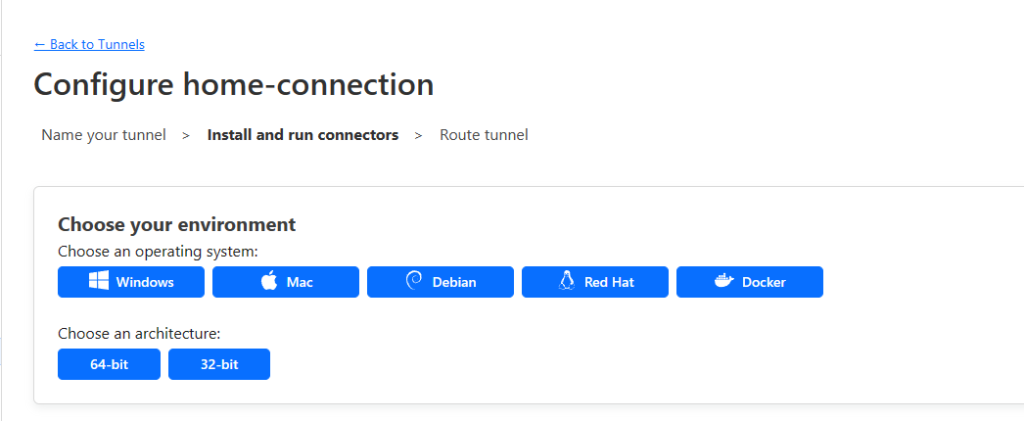
- Select Access -> Tunnels. Select Add a Tunnel. Give the tunnel a name and choose how you are going to deploy it. If you are using windows or a standard docker with command line, you can simply follow the instructions. If you are using a Synology NAS, use the process below. (Save the docker command for later)

Running the Tunnel on Synology
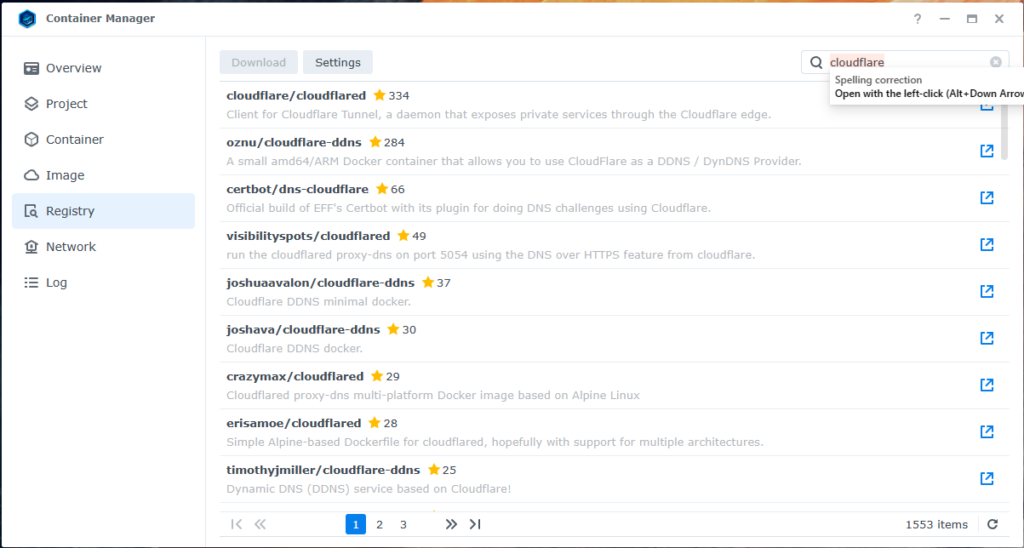
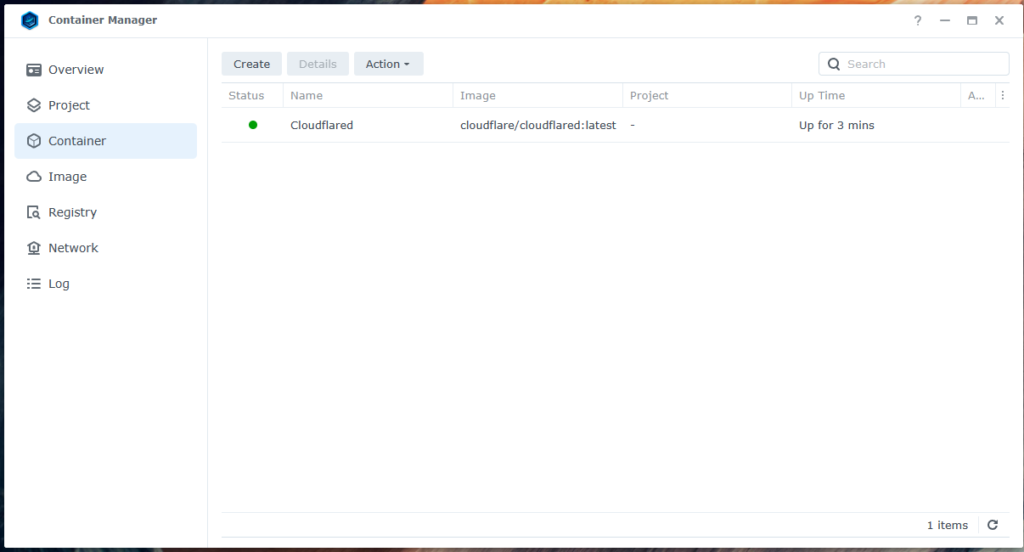
- On your Synology NAS Install and open the “Container Manager“. Head to Registry and search for Cloudflare. Download the “cloudflare/cloudflared” package. Select “Latest“
- Go to “Container” and select “Create“. Select the Cloudflare image and give it a name
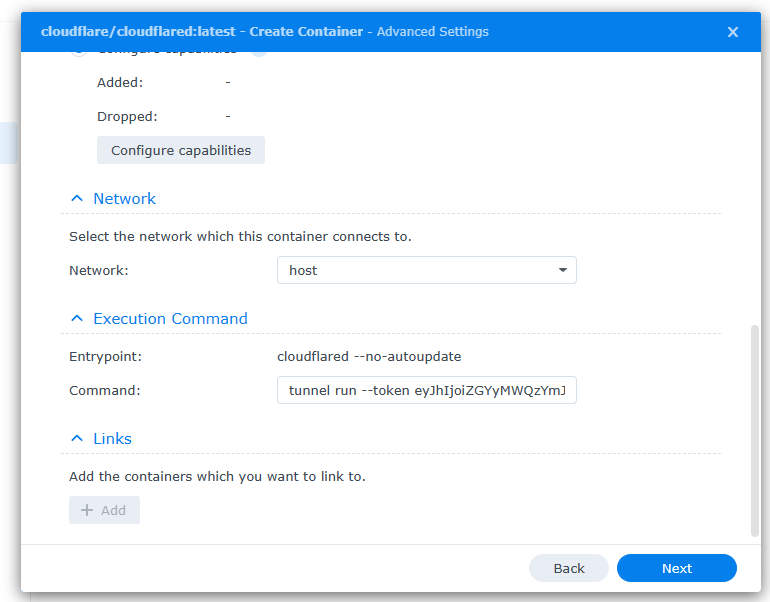
- Change network to “Host”
- For the command you will need to change it to work with the Synology NAS, remove the sections not needed and it should look like “tunnel run –token <Your tunnel string here>” you then paste this into the “Command” box. Select Next and then finish to run
- All going well, return to the Cloudflare dashboard and you should see connected on your tunnel
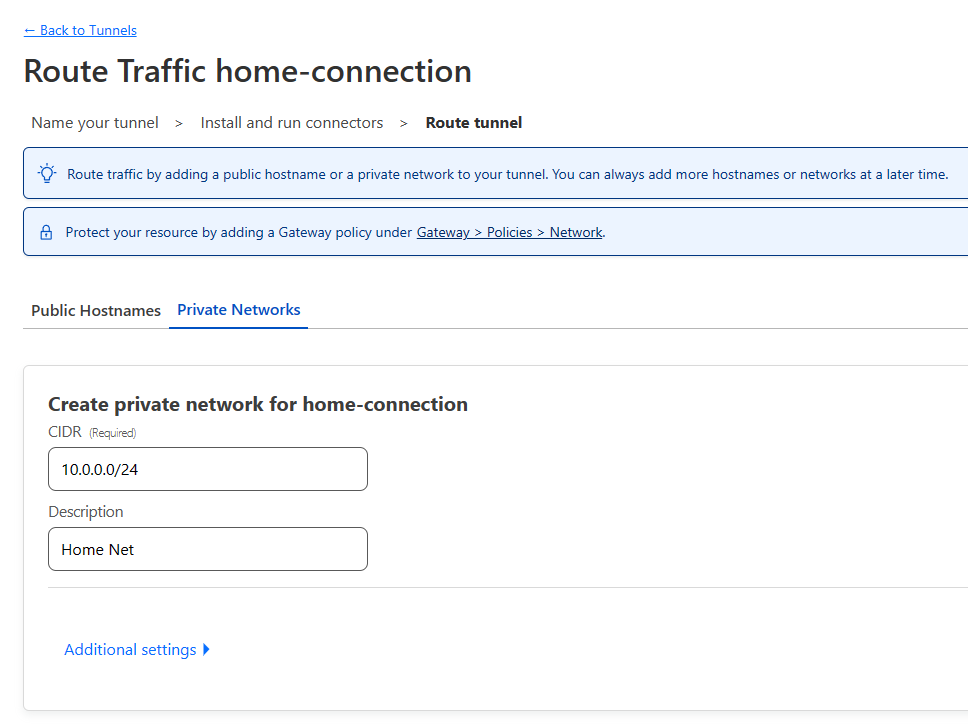
- Back on the Cloudflare Tunnel page, select the “Private Networks” tab and enter your home network. For example, mine is 10.0.0.0/24. Yours could be 192.168.0.0/24 etc.
- Once done you will see “Healthy” on the tunnel page

Setting up the WARP client policies and routing
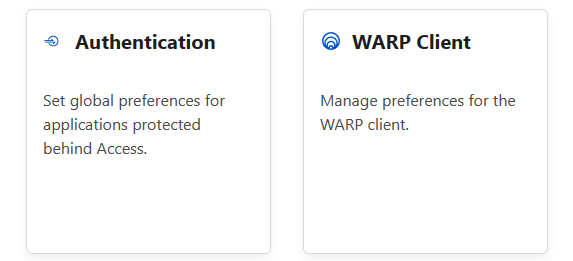
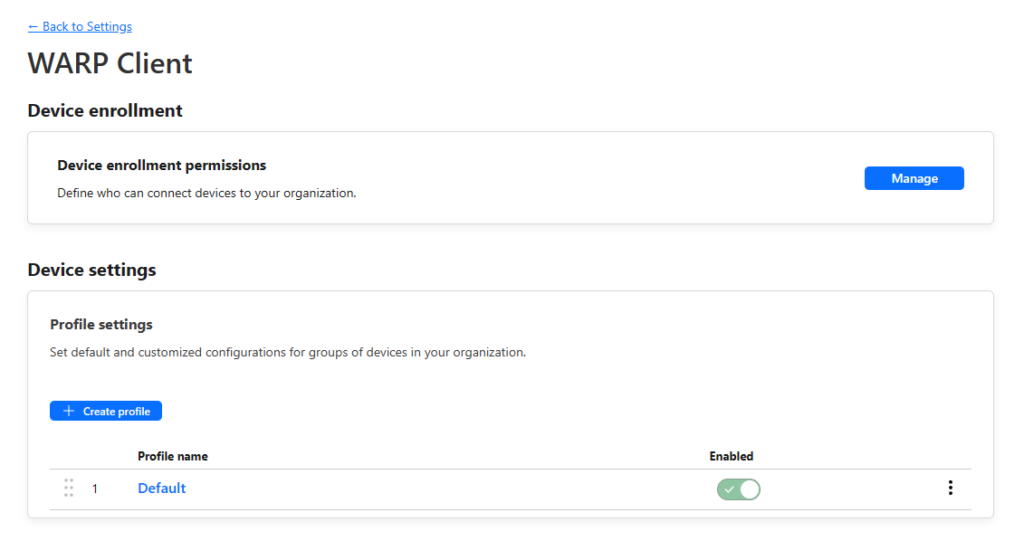
- Select Settings -> WARP Client
- Select the Default profile, select configure
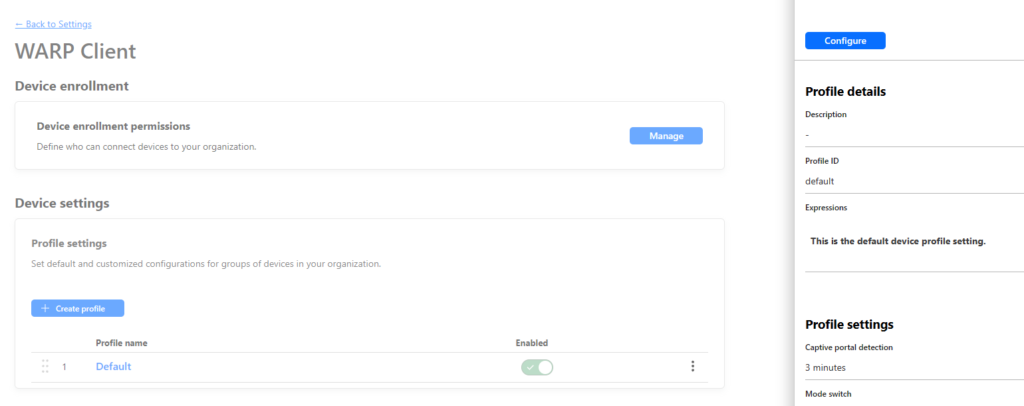
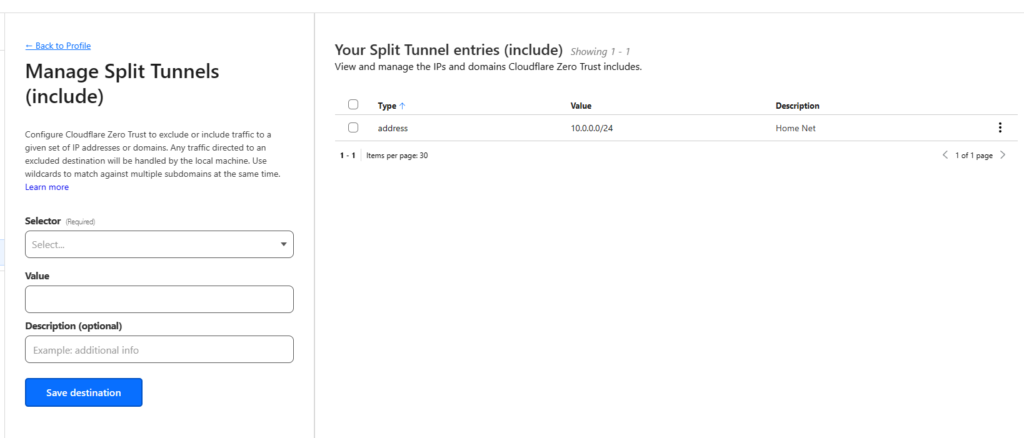
- Scroll down to split tunnel. Select the “Include IPs and Domains” we will use this to only route the internal traffic over the Warp Client. Giving you access to internal resources.

- Enter your home network IP address range in the box. This will tell the Cloudflare to route this traffic over the Warp client. Select Save.
Adding a Firewall Rule
- Next we will add a firewall rule to allow access to the internal network. Cloudflare has a huge number of options for restricting access based on a range of factors, I wont cover these in this tutorial. Select Gateway -> Firewall Policies and select the Network tab
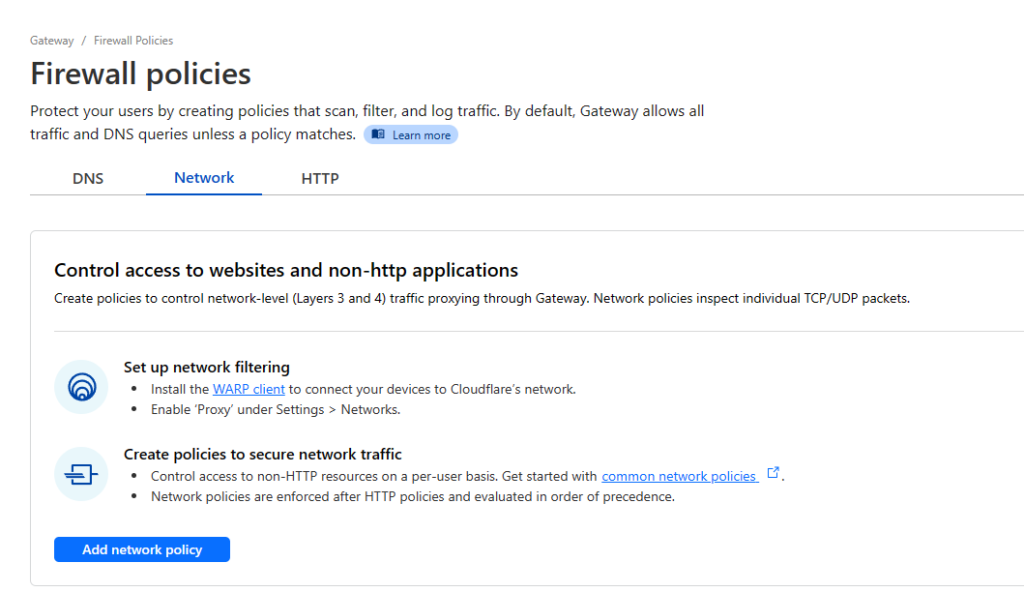
- Select “Add network policy“. For testing I will add an allow rule for the whole subnet (Your home network). When implementing this for use, I would recommend setting a rule to block the whole LAN. Then set individual rules for the services and devices you want to access remotely.
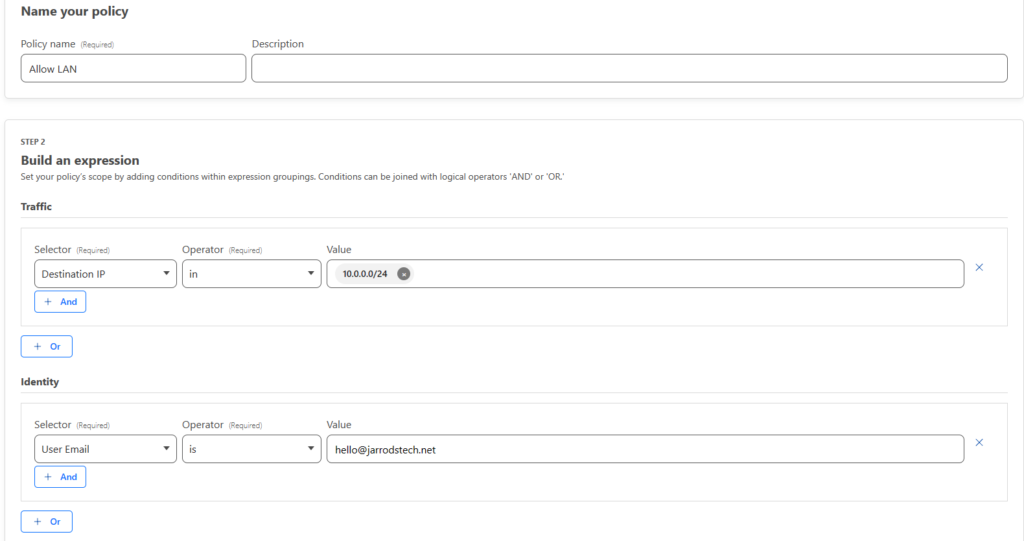
- In the Traffic section, Select “Destination IP” “In” and then enter your home IP range. For instance 10.0.0.0/24
- In the Identity section, select “User Email” “Is” and enter your email address
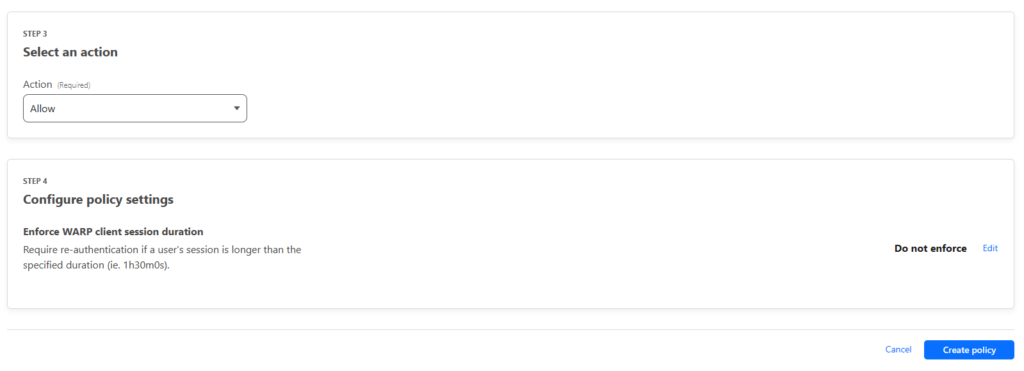
- For the action, select Allow and select “Create policy“
- A banner will appear at the top of the screen, select “Settings/Network“
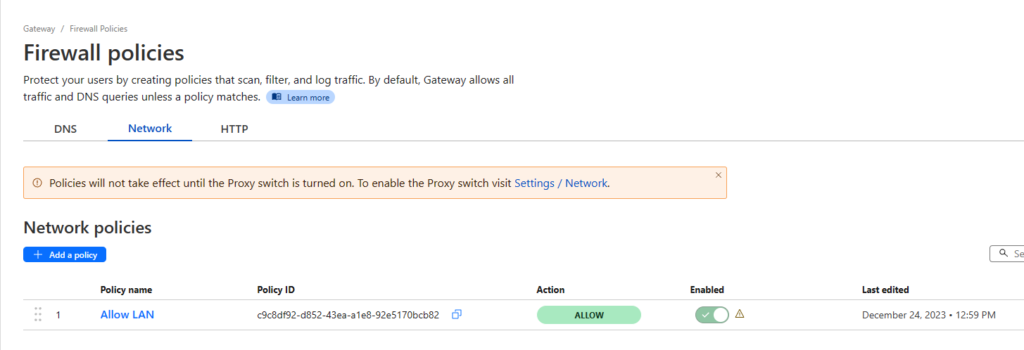
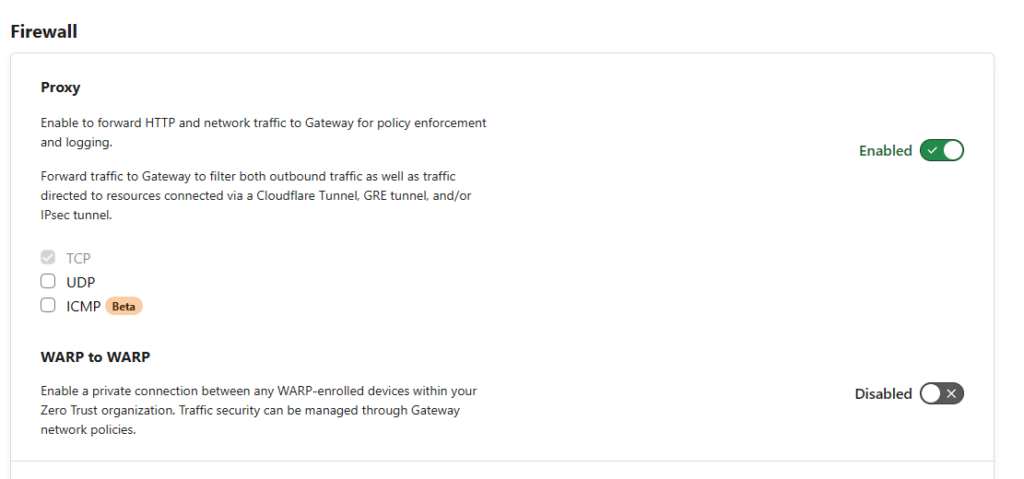
- Under Firewall -> Proxy set the toggle to enabled. Also tick UDP. This will route the traffic through Cloudflare and allow the policies to work in turn giving you remote access
Device enrolment policy
- Go to Settings -> WARP Client and select “Manage” under the Device enrollment permissions.
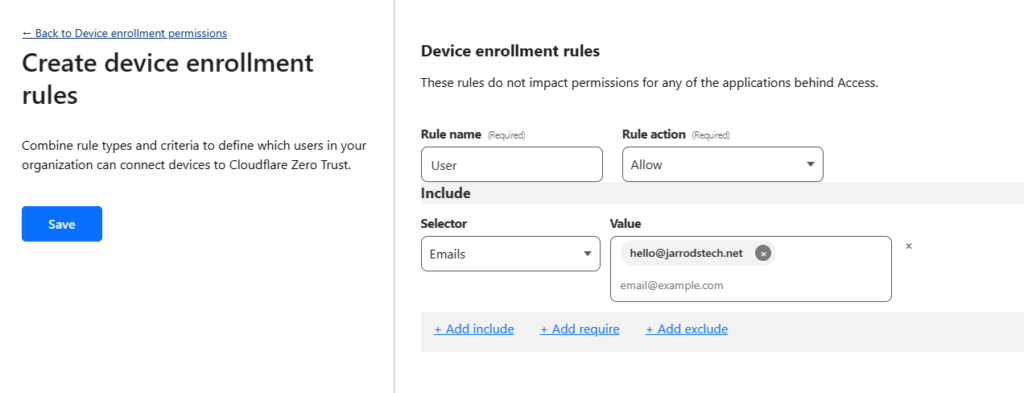
- Select “Add a rule“
- Select “Allow” for the rule action
- Select “Emails” for the selector, then enter your email. This will allow you to connect your device using your email. If you have a custom domain name (IE @example.net) you can allow the whole domain access. If you use a free email such as Gmail or outlook, enter the full emails of users you would like to have access.
Adding a Device
- Select Settings -> Downloads. You can then download the Mac or Windows app.
- I am going to setup an IOS device, however the connection process after installing the app is almost identical.
- On IOS or Android, you install the Cloudflare One app. Just search in the Google Play or App Store.
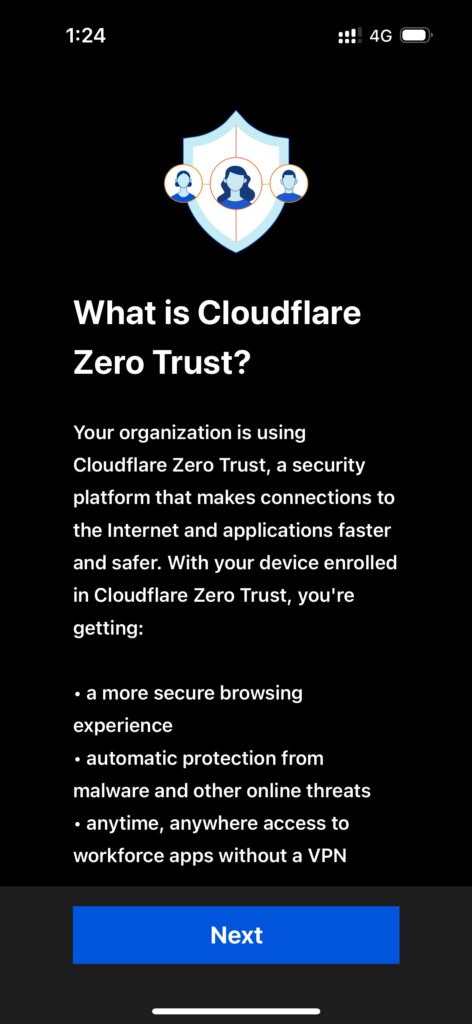
- Once installed, select Next until you get the team name section. This is the team name you created during the initial setup of Zero Trust.
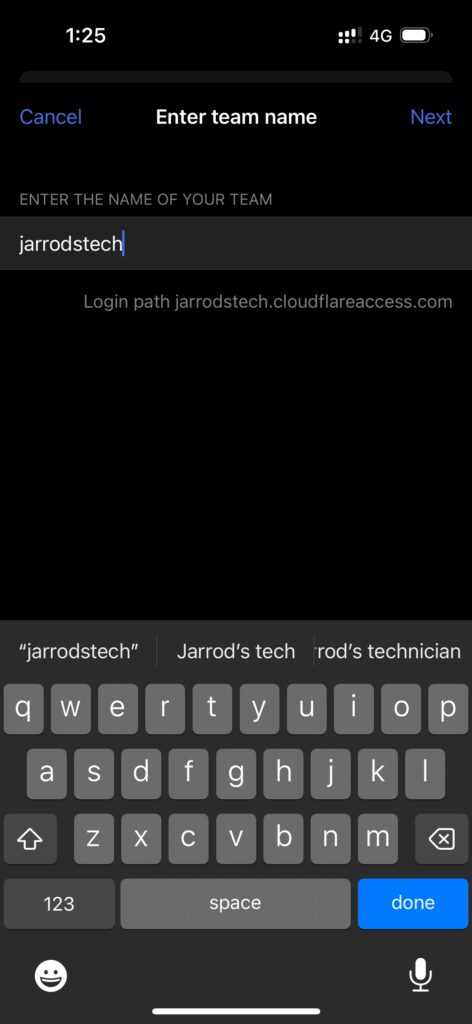
- You will be asked to continue in the web browser. Enter your email and you will be sent a code for authorisation.
- Next you are asked to install the VPN profile. Just follow the system prompts
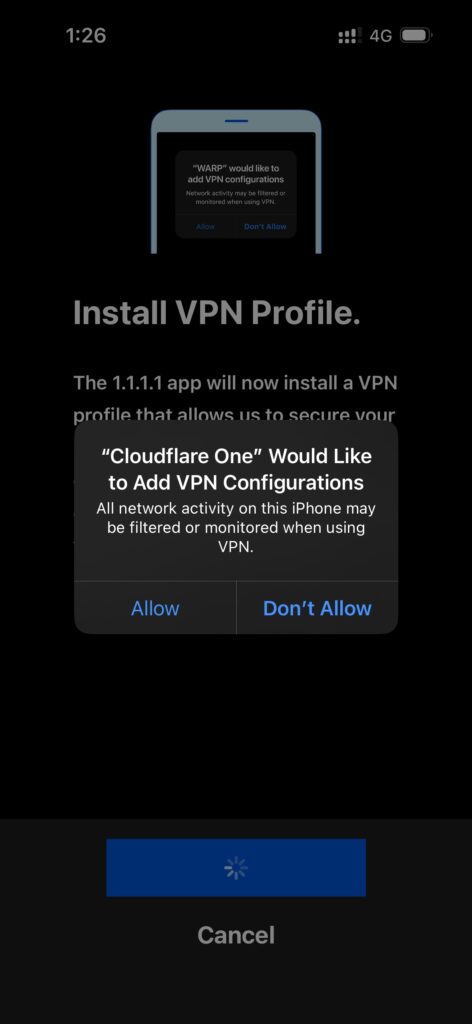
- Next accept or decline the notifications and youy will be brought back to the home screen.
- Once you toggle the connect switch, you will be able to access your internal home IP addresses.
Thats It!
All going well you should now be able to access your internal network from anywhere.
Using an Internal DNS Server (Optional)
- If you have a DNS server in your HomeLab network, you can use it over the Cloudflare connection to resolve internal domain names.
- Go to Settings -> WARP Client -> Device Settings -> Configure
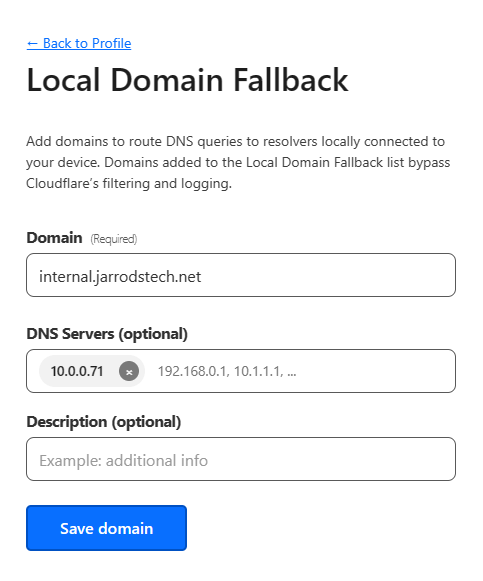
- Scroll to local domain fallback, select Manage.
- Here you can enter a domain name you are using internally, any requests to this domain will use your internal DNS server to look up the address.




Recent Comments